
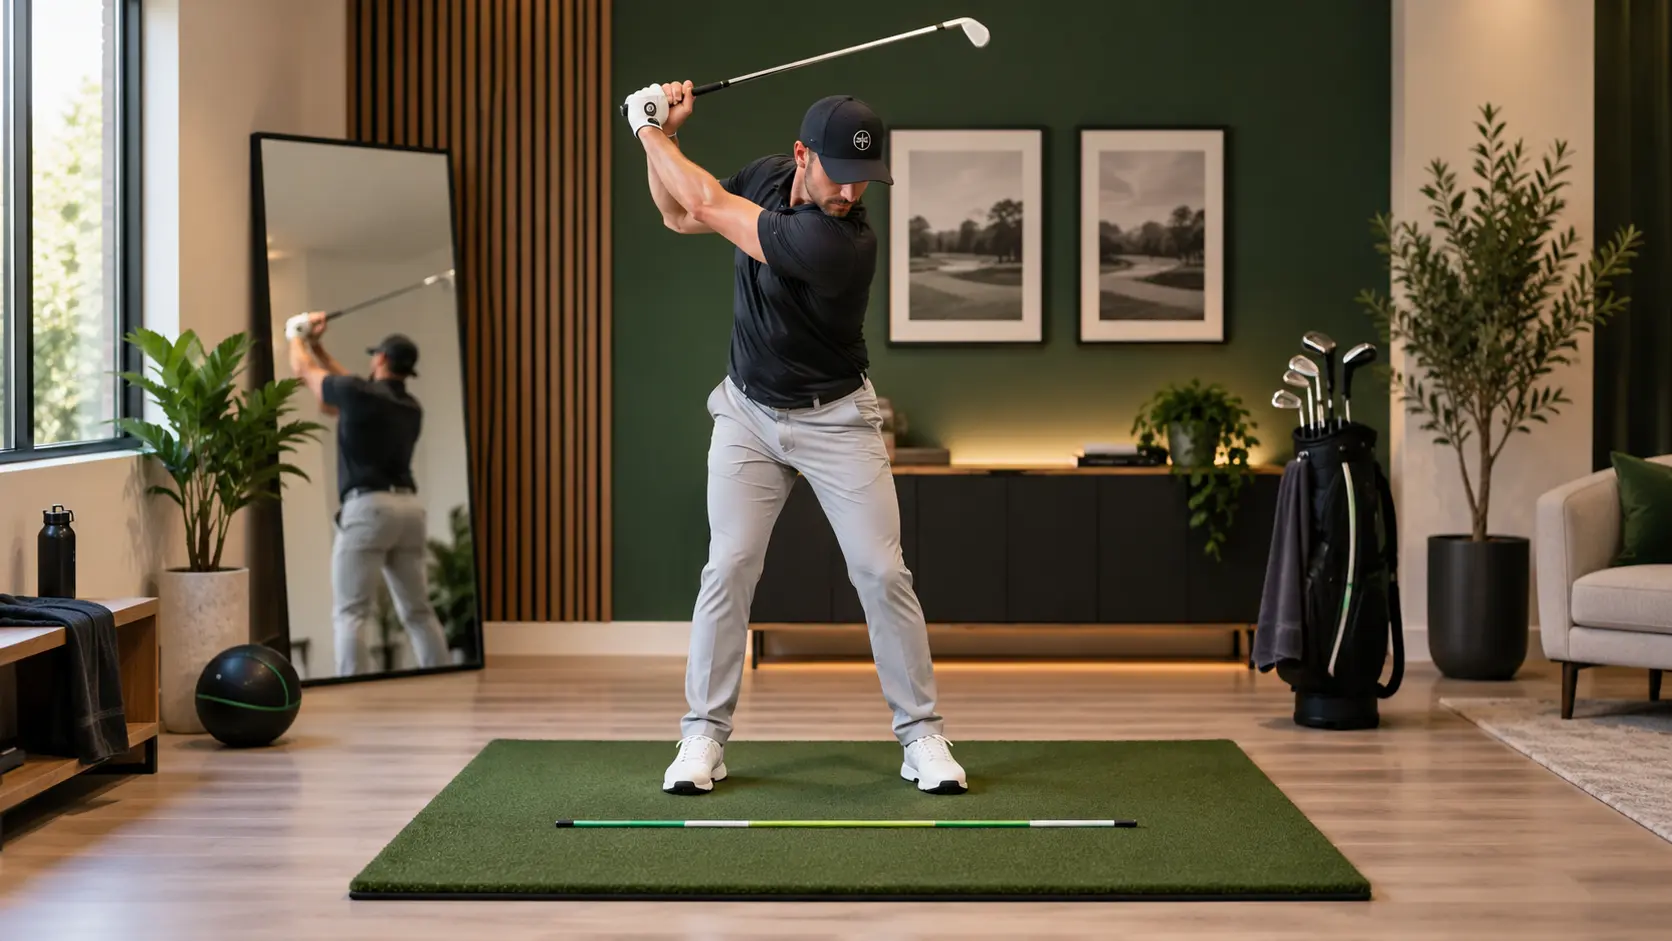
15 Golf Swing Drills You Can Do at Home Without Hitting a Ball
You don’t need to hit hundreds of golf balls to work on your golf swing.
In fact, removing the golf ball can sometimes make swing practice easier because you stop worrying about where the shot goes and start paying attention to how your body and golf club are moving.
That’s what makes at-home golf swing drills so useful.
With enough space to safely hold a golf club, you can work on your grip, setup, takeaway, backswing, transition, impact position, rotation, balance, and tempo without hitting a single golf ball.
This can be especially helpful during the winter when you aren’t playing as much golf or getting to the driving range regularly.
The key is making sure you’re not just taking random practice swings.
Each repetition should have a purpose.
Here are 15 golf swing drills you can do at home without hitting a ball.
Why Practice Your Golf Swing Without a Ball?
When a golf ball is sitting in front of you, your brain naturally wants to hit it.
That can cause golfers to abandon the movement they’re trying to practice and fall back into their normal swing.
Remove the ball and suddenly you can slow everything down.
You can stop at different positions.
You can look in a mirror.
You can exaggerate a new movement.
You can rehearse the same motion several times without caring about the result of the shot.
That makes no-ball practice especially useful when you’re trying to make a technical swing change.
It isn’t meant to completely replace hitting golf balls.
Eventually, you need to test your swing against actual contact and ball flight.
But learning the movement first can make your range practice much more productive.
Before You Start: Make Sure You Have Enough Room
Safety comes first when practicing your golf swing indoors.
Before making any swings, check your clearance from:
- Ceilings
- Walls
- Lights
- Fans
- Furniture
- Windows
- Other people
Start with extremely slow swings.
If you don’t have enough room for a full swing, that’s okay.
Many of the drills in this article only require a partial swing or specific position.
You can also choke down on the club or use a shorter club when appropriate.
1. The Daily Grip Reset Drill
Your grip is your connection to the golf club, yet it’s one of the easiest fundamentals to stop checking.
Keep a golf club somewhere in your house where you’ll see it regularly.
Pick it up and build your grip from scratch.
Do not simply grab the club the way you always do.
Place your lead hand on the grip.
Then add the trail hand.
Check:
- Where the grip runs through your fingers
- How the hands fit together
- Grip pressure
- Whether the hands are excessively rotated
- Whether both hands feel like they’re working together
Then take your hands off and start again.
Perform 10 deliberate grip repetitions.
This takes only a few minutes and is particularly useful if you’ve recently made a grip change.
The goal is eventually getting to the point where your good grip feels natural instead of something you have to consciously build every time you play.
2. Mirror Setup Drill
Your golf swing starts before the club moves.
Many contact and directional problems can be made worse by poor setup.
Stand in front of a full-length mirror or another reflective surface and take your normal address position.
Check yourself from both face-on and down-the-line if possible.
Look at:
- Posture
- Knee flex
- Hip hinge
- Arm position
- Shoulder position
- Weight distribution
- Distance from the imaginary golf ball
One mistake I see golfers make is bending too much through the knees while standing too upright through the torso.
Another is reaching for the golf ball because they’re standing too far away.
You want an athletic posture that allows you to rotate without feeling restricted.
Take your setup, hold it for a few seconds, stand up, and repeat.
Try 10 good setup repetitions.
3. Ball Position and Alignment Rehearsal
You don’t even need a golf ball for this drill.
Place two strips of painter’s tape or alignment sticks on the ground.
Use one to represent your target line and another to help align your feet.
Now rehearse your setup with different clubs.
For example:
Wedge: ball near the middle of your stance.
Mid-iron: slightly forward of center.
Driver: farther forward toward your lead heel.
The exact position can vary slightly depending on the golfer and the shot, but the goal is developing consistency.
I’ve personally had times where my golf ball gradually moved too far forward without me realizing it. Moving it back improved my contact and accuracy.
That is what makes this drill useful.
You’re learning to recognize what your normal setup actually looks like instead of relying completely on feel.
4. Slow Takeaway Drill
Your takeaway can influence the rest of your golf swing.
Take your normal setup.
Begin moving the club away from the imaginary ball as slowly as possible.
Stop when the shaft reaches approximately parallel to the ground.
Hold the position.
Check:
- Where your hands are
- Where the clubhead is
- How much your shoulders have turned
- Whether you’ve immediately rolled the clubface
- Whether your body and arms are moving together
Return to address.
Repeat 10 times.
Don’t worry about completing the entire swing.
You’re isolating the first portion of the motion.
Once you become comfortable with the position, make a few continuous swings that move through the checkpoint without stopping.
5. Backswing Turn Drill
A lot of golfers think about lifting their arms to create a backswing.
Instead, work on creating a more coordinated turn.
Take your normal setup without a club.
Cross your arms over your chest so each hand touches the opposite shoulder.
Now make your normal backswing motion.
Feel your upper body turn while maintaining your posture.
Your trail hip should move as your body rotates rather than your entire body simply sliding away from the target.
Perform 10 repetitions.
Then grab a club and try to recreate the same turning sensation.
This is a simple drill, but it can be useful for golfers who either barely turn or excessively sway away from the target during the backswing.

6. Wall Hip-Depth Drill
Find a clear wall where you have enough room to move safely.
Stand with your backside lightly touching or very close to the wall while you’re in golf posture.
Rehearse your backswing.
As you turn back, feel your trail hip maintain some relationship with the wall.
Then rehearse your downswing and feel your lead side rotate back as your body opens toward the target.
The goal isn’t to aggressively push yourself into the wall.
The wall simply gives you feedback.
If your hips move dramatically toward the imaginary golf ball during the downswing, you’ll immediately notice that you’ve moved away from the wall.
Perform 8 to 10 slow repetitions.
7. Towel Connection Drill
Place a small towel underneath your arms across your chest.
Take your address position.
Make small half-swings while trying to keep the towel from immediately falling out.
This can help you feel your arms and torso working together during shorter swing motions.
Start small.
Do not force your arms against your body or try to keep the towel trapped through an entire aggressive full swing.
Think of this as a connection drill rather than a permanent swing position.
Make 10 controlled half-swings.
Then remove the towel and make another 5 swings while trying to retain the same connected feeling.
8. Pause-at-the-Top Drill
Many golfers rush from the backswing into the downswing.
This drill forces you to separate the two movements.
Take the club to the top of your backswing.
Stop.
Count:
One… two…
Then slowly begin the downswing.
At first, exaggerate the pause.
You are not trying to build a golf swing where you actually stop for two seconds during a round.
You’re giving yourself enough time to feel the transition.
After several repetitions, shorten the pause.
Try:
- 5 swings with a two-second pause
- 5 swings with a one-second pause
- 5 continuous swings
This gradual progression helps blend the drill back into your normal motion.
9. Pump Drill for the Downswing
Take the club to the top of your backswing.
Begin moving into the downswing but stop around halfway down.
Return toward the top.
Move halfway down again.
Do this two or three times.
Then complete the swing.
That looks like:
Backswing → halfway down → back up → halfway down → back up → swing through.
Move slowly.
The purpose is becoming more aware of how your arms, hands, and body are working during the transition rather than simply throwing the club from the top.
Complete 8 to 10 repetitions.
10. Step-Through Sequencing Drill
This drill adds athletic movement to your swing.
Start with your feet closer together than normal.
Begin your backswing.
As you transition toward the imaginary ball, step toward the target with your lead foot and swing through.
Finish balanced on your lead side.
Think of movements you see in other sports.
Throwing a baseball, hitting a baseball, or making many other athletic motions involves transferring energy toward the target.
The step makes that sequence easier to feel.
Start slowly.
Perform 10 repetitions.
Then return to your normal stance and make several swings while trying to retain the same sense of moving through the shot.
Read Also: How to Practice at Home without a Simulator
11. Impact Freeze Drill
Impact happens too quickly during a real golf swing to consciously build the position while swinging full speed.
So practice it separately.
Take your normal address position.
Slowly move into your impact position and stop.
With an iron, look for a few basic characteristics:
- Pressure favoring the lead side
- Hips beginning to open
- Chest rotating
- Hands ahead of where they started
- Stable posture
- Trail heel beginning to respond to the rotation
Hold the position for three seconds.
Return to address.
Do it again.
Perform 10 repetitions.
Then make slow-motion swings through that position instead of stopping.
The goal is not to manufacture one perfect still-frame position.
You are simply helping your body become familiar with moving through impact.
12. Low-Point Brush Drill
One of the most important skills in iron play is controlling where your swing reaches the ground.
You can rehearse this without a golf ball.
Place a strip of painter’s tape or another safe reference line on the ground.
Set up as if the golf ball were positioned just behind the line.
Make small controlled swings.
Try to brush the ground or mat on the target side of the imaginary golf ball.
If you’re practicing on a surface you cannot safely brush with the club, rehearse the movement without making contact with the floor.
This drill is useful for golfers who struggle with hitting behind the golf ball and producing chunked iron shots.
Start with small swings before making anything longer.
Quality contact begins with controlling the bottom of your swing.
13. Three-Speed Swing Drill
Golfers often have only two speeds.
Slow practice swing.
And then:
Hit the ball as hard as possible.
Instead, learn to control your swing at multiple speeds.
Make five swings at approximately 25% effort.
Then make five at 50%.
Then five at roughly 75%.
Focus on maintaining:
- Balance
- Sequence
- Posture
- Finish
You may notice that your swing feels much more organized at 50% than it does when you try to create maximum speed.
That’s useful information.
Technical changes should generally become reliable at slower speeds before you expect them to survive a full-speed golf swing.
14. Golf Swing Tempo Count Drill
Tempo is another skill you can work on indoors.
Take your normal setup.
As you swing, use a simple count.
For example:
One-two-three going back.
Four starting down.
The exact counting system matters less than creating repeatable rhythm.
Make 10 swings.
Your goal is for each swing to have roughly the same tempo.
Then make another set where you change clubs.
Try:
- Wedge
- 7-iron
- Hybrid
- Driver
Your clubs change length, but you still want a controlled rhythm.
This is also a great drill to use before your first round after a long winter break.
15. One-Swing Pre-Shot Routine Challenge
Most indoor swing practice involves repetition.
But that’s not how golf works.
On the course, you get one swing.
So finish your practice session with a different challenge.
Pick an imaginary target.
Decide what shot you’re hitting.
Go through your complete routine.
For example:
Shot 1: Driver to a fairway.
Make one swing.
Put the driver down.
Shot 2: 7-iron to a green.
Go through your routine again.
Make one swing.
Shot 3: Wedge from 80 yards.
One swing.
Continue switching clubs.
Do not make four driver swings because the first three didn’t feel right.
Treat each repetition like it counts.
This helps bridge the gap between technical practice and actually playing golf.
How Many Repetitions Should You Do?
More isn’t always better.
You don’t need to make 500 practice swings in your living room every night.
I’d rather see you make 30 high-quality repetitions where you’re focused on a specific movement.
For most drills, start with:
8 to 15 repetitions.
Then step away.
If you’re making a significant swing change, you can come back later and perform another short session.
Once fatigue or boredom sets in, golfers often begin making careless repetitions.
That’s the opposite of what you’re trying to accomplish.
Don’t Work on All 15 Drills at Once
This is important.
These drills aren’t meant to become one giant practice session.
You don’t need to fix your grip, posture, takeaway, backswing, transition, impact, rotation, tempo, and finish tonight.
Pick the drill that matches the part of your swing you’re currently trying to improve.
For example:
If your setup is inconsistent, work on the mirror and alignment drills.
If you’re swaying during your backswing, work on the backswing turn.
If you’re struggling with your transition, use the pause or pump drills.
If you’re hitting behind the ball, spend more time rehearsing impact and low-point control.
If you’re losing balance, work at slower speeds and hold your finish.
Match the drill to the problem.
That’s much better than randomly choosing whatever golf drill you saw on social media that day.
A Simple 15-Minute At-Home Golf Swing Routine
If you want something simple to follow, try this.
Minutes 0-3: Setup
Perform:
- 5 grip repetitions
- 5 setup repetitions
- 5 ball-position checks
Minutes 3-8: Your Main Swing Drill
Choose one technical drill from this article.
Perform approximately 10 slow, deliberate repetitions.
Use a mirror or video for feedback when appropriate.
Minutes 8-12: Blend It Into the Swing
Start making more continuous practice swings.
Gradually increase speed.
Your goal is to keep the movement you’re working on while making the swing feel more natural.
Minutes 12-15: Simulated Shots
Choose different clubs and imaginary targets.
Make one swing at each target.
Go through your routine before every swing.
This helps move you away from thinking only about positions and back toward playing golf.
Use Your Phone for Feedback
One challenge with golf is that feel and reality aren’t always the same thing.
You may feel like you’re making a huge change while barely moving differently.
Your phone can help.
Record your swing from two useful angles:
- Face-on
- Down-the-line
You don’t need to film every swing.
Take a baseline video.
Perform your drill.
Then record another swing later to see whether the movement actually changed.
Video is especially helpful when you’re working on setup, sway, rotation, backswing length, posture, or other movements that are easy to see.
The Biggest Mistake With At-Home Swing Practice
The biggest mistake is making endless practice swings without knowing what you’re trying to accomplish.
Don’t practice simply for the sake of saying you practiced.
Know the purpose of the drill.
Know what you’re trying to change.
Give yourself feedback.
Then gradually blend the drill into a normal golf swing.
Eventually, take that movement to the driving range and hit golf balls.
Then test it on the golf course.
The progression should look something like:
Learn the movement → rehearse the movement → add speed → hit golf balls → take it to the course.
At-home practice is one part of that process.
Winter Can Be One of the Best Times to Improve Your Golf Swing
If you live somewhere with a long offseason, winter doesn’t have to mean putting the golf clubs away until spring.
It can actually be a great time to make a swing change.
You’re not worried about shooting a score tomorrow.
You aren’t standing on the driving range watching every bad shot.
You can slow down and work on your fundamentals.
Even 10 to 15 minutes of focused practice several times per week can keep you connected to your golf swing throughout the winter.
Then, when you’re able to start hitting golf balls regularly again, you aren’t starting from zero.
You’ve already spent months rehearsing better movements.
Stop Practicing Randomly and Follow a Plan
Knowing hundreds of golf drills isn’t necessarily what makes you better.
Knowing what to practice, why you’re practicing it, and what to do next is much more important.
That’s exactly why I created the Foy Golf Academy Practice Plans.
You can choose from the Beginner, Intermediate, or Advanced Practice Plan, with 50 structured practice sessions in each level.
Or get the complete bundle with 150 total practice sessions, plus additional golf drills, routines, and training resources.
The plans give you a structured path to work on your golf swing, putting, chipping, short game, ball striking, and scoring skills instead of showing up to practice and wondering what you should do.
If you want to make this winter productive and come into next golf season with a better plan for your game, start your Foy Golf Academy Practice Plan today.