Why You Hit Irons Well Off Mats but Fat on Grass
Every winter, I work with students indoors and we hit a lot of iron shots from mats.
Indoor practice is valuable. We can work on setup, alignment, balance, swing positions, contact and other basic fundamentals without worrying about cold weather or a closed grass range.
But a mat can also make a poor strike look better than it really was.
On grass, an iron that hits the ground behind the ball digs into the turf, loses speed and produces the heavy shot every golfer recognizes. On a firm mat, the club can bounce or skid along the surface and still reach the ball. The shot may fly reasonably well even though the club contacted the mat too early.
That is why some golfers leave the simulator feeling as if they are striking their irons well, then hit several fat shots when they return to the course.
The answer is not to stop practicing indoors. The answer is to add feedback that makes the mat more honest.
How a Mat Can Hide a Fat Iron Shot
A good iron strike happens when the club contacts the ball before reaching the bottom of its swing arc. The club then continues forward and meets the ground after the ball.
If the bottom of the swing occurs too early, the club hits the ground first. Grass gives immediate evidence because the divot begins behind the ball. A mat does not leave a divot, and its firm surface may help the clubhead continue into the ball.
The final shot can fool you. It may launch high enough and travel close enough to the expected distance that you count it as solid.
This is one reason I do not judge indoor contact from ball flight alone. I want my students to notice several pieces of feedback:
- Did the club strike the mat before the ball?
- Did impact feel heavy in the hands?
- Did the simulator show lower ball speed or an unexpected loss of distance?
- Where did the ball contact the clubface?
My full lesson on low-point control and crisp iron contact explains why the club needs to bottom out beyond the ball. When you are practicing from a mat, however, you need a way to see whether that is actually happening.
FREE BREAK 90 TOOLKIT: If inconsistent contact is one of the leaks keeping you in the 90s, use my free Break 90 Toolkit and Shot Leak Audit to identify what is costing you shots and what to practice first.
The Clues That Reveal Poor Contact Indoors
You can learn to recognize a heavy strike even when the mat helps the ball into the air.
A Heavy Feeling in Your Hands
When the club hits the mat too early, the strike often feels heavier through your hands and arms. You may feel the club slow down or push into the surface before reaching the ball.
A thin strike also sends noticeable feedback into the hands, although it feels sharper and produces a different flight. Learning these sensations helps, but feel should not be your only measurement. Golfers can get accustomed to their normal contact and mistake it for a clean strike.
Lower Ball Speed or Shorter Carry
Sometimes the simulator catches what your eyes miss.
A shot may look playable, but the ball speed drops or the carry distance finishes shorter than expected. The mat allowed the club to reach the ball, but ground contact had already taken energy out of the clubhead.
Do not blame every distance drop on a fat strike. Face contact, clubface direction and swing speed also affect the result. Look for a repeated combination: heavy feel, disturbed tape or towel, lower ball speed and shorter carry.
Strike Location on the Clubface
Ground contact is only half of the indoor-contact picture. I also like to spray the clubface so my students can see exactly where the ball struck it.
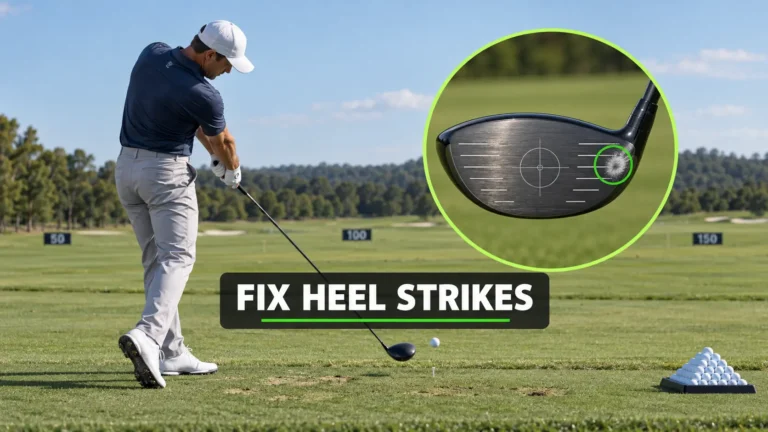
Face spray reveals whether contact is low, middle or high on the face and whether it is toward the heel, center or toe. A shot can miss the towel and still strike the toe. It can produce acceptable carry while contacting the face too low.
Combining low-point feedback with face spray gives you a much clearer answer than watching the simulator ball flight by itself.

Towel or Painter’s Tape: Which Should You Use?
I use both a towel and painter’s tape with students, but they do not affect every golfer the same way.
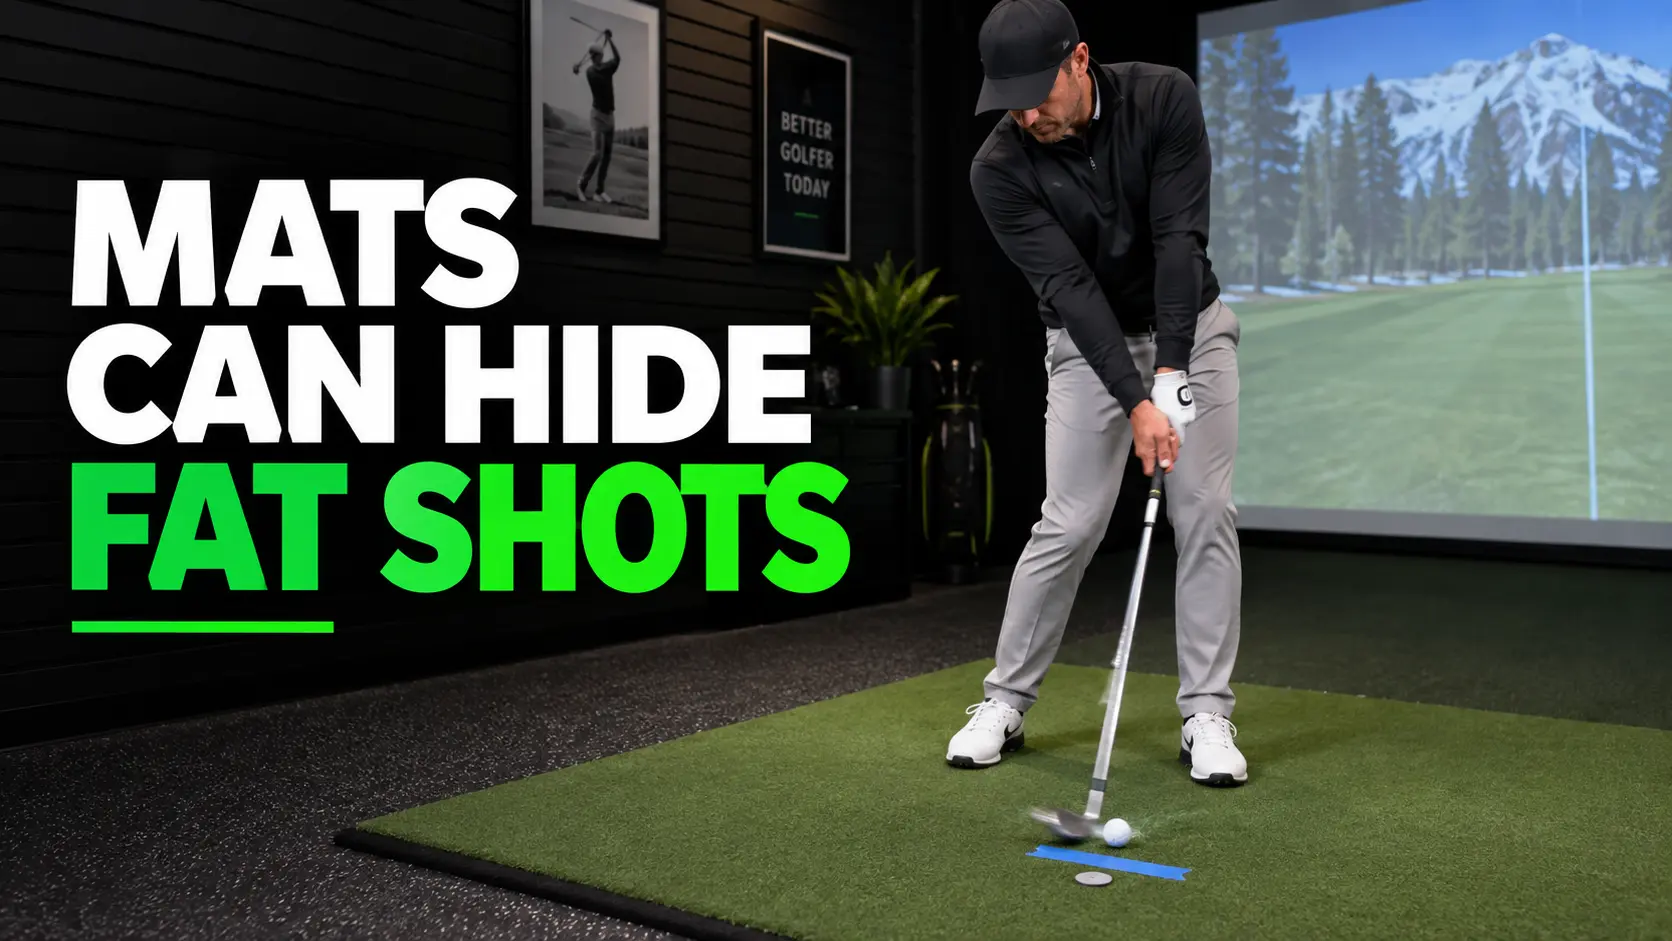
The towel gives obvious feedback. Place it one clubhead—about four inches—behind the ball. If the club hits the towel, you know it reached the mat too early.
The drawback is mental. Some of my students become so worried about touching the towel that their motion changes and their contact gets worse. They may lift the club, tighten up or make a swing that does not resemble the one they would use on the course.
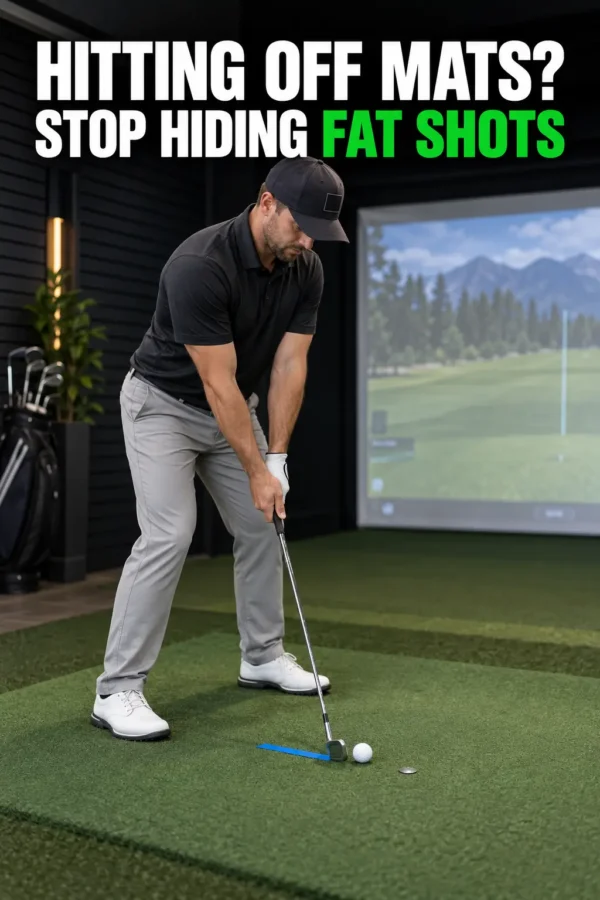
For those players, a line of painter’s tape is often better. Put the tape approximately one clubhead behind the ball. It still shows whether the club contacted the mat early, but it feels less threatening because there is no raised object sitting behind the clubhead.
Start with the feedback option that lets you make a reasonably normal swing:
- Use the towel if you want an obvious obstacle and can swing without becoming tense.
- Use painter’s tape if the towel gets into your head or changes your motion.
As contact improves, you can gradually move the towel or tape closer. Do not begin with it so close that every attempt becomes a trick shot. Four inches gives most golfers a fair starting point.
Add a Ball Marker Ahead of the Ball
The towel or tape tells you what not to hit. A ball marker placed ahead of the ball gives you a positive target.
Set a flat ball marker a few inches beyond the ball along the target line. Your goal is to strike the ball and then brush the mat where the marker sits.
You are not trying to scoop the marker into the air or force the club steeply into the mat. Think of it as the beginning of the divot you would want to see on grass: ball first, then ground.
This forward target can be especially helpful for a golfer who becomes overly focused on avoiding the towel. Instead of swinging away from something behind the ball, the golfer can send the club through something ahead of it.
If you continue hitting behind the ball from every setup, read my guide to the common causes of chunked golf shots before randomly changing several parts of your swing.
My 25-Shot Indoor Contact Test
I like to have students hit 25 shots and count how many they contact cleanly. This turns a contact drill into a simple performance test.
What You Need
- A mid-iron, such as a 7-iron
- 25 golf balls
- A small towel or strip of painter’s tape
- One flat ball marker
- Foot spray or another clubface-contact spray
- A simulator or launch monitor if available
- A phone or notebook to record the results
Set Up the Station
- Choose one target and use the same club for all 25 shots.
- Place the towel or tape one clubhead, approximately four inches, behind the ball.
- Put the flat ball marker a few inches ahead of the ball on the target line.
- Spray the clubface before the first shot and reapply it whenever the marks become difficult to read.
- Hit several warm-up shots before starting the scored set.
Score Every Shot
Give yourself one clean-contact point only when the shot meets all three standards:
- You do not touch the towel or mark the tape behind the ball.
- You strike the ball before brushing the mat near the forward marker.
- The face mark is in a playable central area rather than severely low, high, heel or toe.
Also record any clear warning signs:
- Heavy feel in the hands
- Thin or sharp impact feel
- Lower-than-normal ball speed
- Unexpected carry-distance loss
- Heel, toe, low-face or high-face strike
Your score is the number of clean shots out of 25. The first session establishes your baseline. If you score 11 out of 25, do not hide the other 14 or change the definition of success. Record 11 and try to beat it during the next session.
Once you can produce 20 clean strikes out of 25 from the original setup, move the tape or towel slightly closer and repeat the test. That raises the difficulty without forcing a mechanical swing change.
Don’t Chase Simulator Distance During the Drill
This is a contact test, not a longest-shot contest.
If you begin swinging harder to recover the ball speed you lost on a poor strike, you may create more inconsistent contact. Use a normal, controlled iron swing and let the feedback station show you where the club and ball actually met.
Your goal is a repeatable sequence:
- Miss the feedback behind the ball.
- Strike the ball.
- Brush the mat ahead of it.
- Find a playable part of the clubface.
- Produce normal ball speed and carry for that swing.
You can measure the resulting shot pattern separately with my 10-ball iron-dispersion test. First make the strike honest. Then study where the group finishes.
How to Transfer Indoor Contact Back to Grass
Your indoor work should prepare you for turf, but it cannot perfectly replace turf feedback.
When grass practice becomes available again, recreate the same intention with a mid-iron. Choose a level lie and place the ball in a normal position. Make a small mark or imagine a line where the ball sits, then check where the divot begins.
The divot should start at the ball or slightly beyond it—not several inches behind it.
Hit 10 shots and record three things:
- How many divots begin at or beyond the ball
- How many strikes feel solid
- How many shots produce your expected carry window
Do not expect perfect turf contact on the first day outside. The surface, footwear, temperature and visual environment have all changed. Look for the same pattern you trained indoors and compare the group of shots, not one swing.
Mats Are Still Excellent for Winter Practice
I do not want golfers to take the wrong lesson from this. Indoor mats are not useless, and winter practice is not fake practice.
Mats are excellent for working on basic swing fundamentals. They let you train consistently, use video, monitor ball data, repeat setup checkpoints and keep your game moving forward when outdoor practice is limited.
The mistake is assuming every ball that flies well was struck cleanly.
A towel, painter’s-tape line, forward ball marker and face spray make the surface more accountable. They tell you whether you hit the mat too early, whether the club continued beyond the ball and where the ball met the face.
PRACTICE WITH A PLAN: The towel contact drill is already part of the structured work inside my Foy Golf Academy Practice Plans. Each level contains 50 complete sessions covering the swing, chipping and putting, so one useful drill has a clear place in your overall improvement plan.
Make Your Mat Practice Honest This Winter
If you hit irons well indoors but struggle with fat shots on grass, do not assume your swing disappears when you step outside.
Your mat may have been hiding where the club first contacted the ground.
Start with tape or a towel one clubhead behind the ball. Add a flat ball marker ahead of it. Spray the clubface, hit 25 shots and count only the strikes that satisfy the full contact standard.
That gives you a real baseline. Improve the number throughout the winter, then confirm the pattern by checking your divots when you return to grass.
Ready to stop guessing during practice? Choose the Foy Golf Academy Practice Plan for your level and turn your next bucket into a complete session with a measurable purpose.