
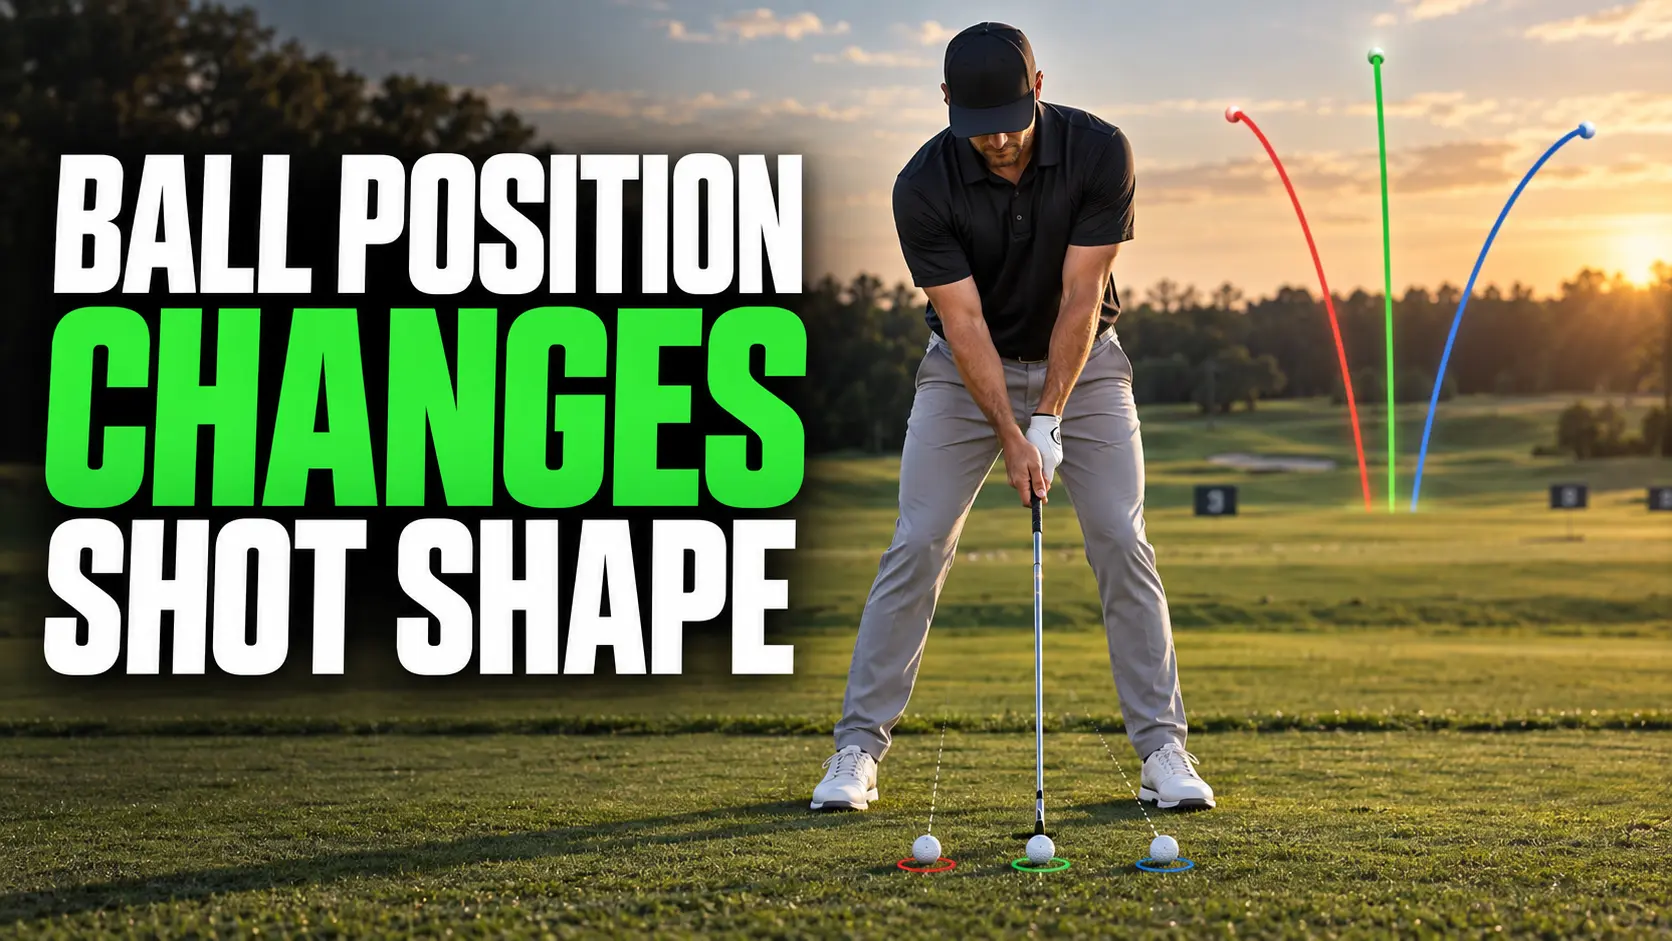
Ball Position and Shot Shape: Test Contact Before Curve
If your iron shots alternate between thin contact, chunks, and a ball that starts right and curves farther right, check your ball position before rebuilding your swing.
One of the most common setup mistakes I see is the ball gradually creeping too far forward. The golfer may feel as if every ball is in the same place, but stance width and foot position change from shot to shot. The club then reaches the ball at a different point in the swing arc.
I have dealt with this in my own iron setup. When the ball became too far forward, I saw more thin shots and cutting shots that started a little right and curved farther right. Moving the ball back improved the contact, reduced the chunks, produced a straighter start line, and gave me more distance when I struck it well.
That does not mean moving the ball back fixes every slice. It means ball position was a variable worth testing. I would rather have a golfer prove which position works than keep moving the ball after every bad shot.
What Ball Position Can Change
Ball position changes where the club meets the ball along the swing arc. That can affect three parts of the shot:
Contact: whether the club reaches the ball before or after the bottom of the swing.
Direction: where the clubhead is traveling and where the face points at impact.
Trajectory: the loft and strike delivered to the ball.
With an iron, I want the club to contact the ball before the low point, then enter the turf after the ball. When the ball sits too far forward for a golfer’s motion, the club may reach the bottom of its arc too soon. Thin shots, heavy shots caused by a last-second compensation, high weak contact, or a glancing strike can follow.
When the ball sits too far back, the golfer may catch it earlier on the arc. That can create a steeper strike, a lower launch, or contact that feels trapped. Some golfers also respond by hanging back or flipping the club to reach the ball.
These are tendencies, not guarantees. Your clubface, club path, strike location, lie, and swing motion still matter. That is why I do not diagnose ball position from one shot.
If you need a starting position for every club before running the test, use my ball-position-by-club setup guide.

Start Line and Curve Tell You Different Things
A golfer often sees a slice and immediately moves the ball. First, separate where the shot started from how it curved.
For a centered strike, the clubface is the main influence on the starting direction. The relationship between the face and the club path influences curvature.
A face that is open relative to the path produces rightward curvature for a right-handed golfer. A face that is closed relative to the path produces leftward curvature.
Ball position can influence the path and face you deliver because the club is meeting the ball at a different place on the arc. It does not automatically make the face open or closed. The old article treated that relationship as automatic, which can send a golfer toward the wrong fix.
Use the shot as feedback:
Starts right and curves right: the face was right of the target and open relative to the path on a centered strike.
Starts left and curves right: the face was left of the target but open relative to a path that was even farther left.
Starts right and curves left: the face was right of the target but closed relative to a path that was even farther right.
Starts left and curves left: the face was left of the target and closed relative to the path.
Off-center contact can change the curve, especially with a driver, so check the strike before making a final diagnosis. My guide to face angle, club path, and ball flight explains those relationships in more detail.
Check These Setup Variables Before Moving the Ball
When I am working with a golfer who has inconsistent contact, ball position is one of the first things I check. I also make sure the test is not being spoiled by another changing variable.
Aim
Lay one alignment stick on the ground parallel to the target line. Poor aim can make a straight shot look like a push or pull.
Center reference
Place a second stick perpendicular to the target line so it points toward the middle of your stance. Reference the ball to the center of your body instead of guessing from your toes. A stance that becomes wider can make the same ball look farther back.
Distance from the ball
Keep the distance between your body and the handle consistent. Standing closer or farther away can move the strike around the clubface even when the ball has not moved forward or back.
Target and club
Use one target and one iron for the full comparison. I like a 7-iron because it is long enough to expose a setup error without being as difficult to strike as a long iron.
Once those variables are steady, you can test ball position honestly.
| Free Break 90 Blueprint: If inconsistent setup and contact are costing you strokes, use my free Break 90 Blueprint and Shot Leak Audit to identify what to work on first. |
The 60 Ball Position Test for Irons
This is the test I would start with before prescribing a swing change. You will hit 20 balls from three positions and compare the pattern.
What you need
60 range balls
A 7-iron
Two alignment sticks
Face spray, dry shampoo, or impact tape
A notes app or paper scorecard
One target that is safely within your normal 7-iron range
Do not run this test when you are exhausted or rushing through the bucket. The goal is to compare normal swings, not manufacture a winner.
The three positions
Use the perpendicular alignment stick as your center reference.
1. Middle: Place the ball in the center of your stance.
2. One ball forward: Move it one golf-ball width toward the lead foot.
3. One ball back: Move it one golf-ball width toward the trail foot.
Keep your stance width, aim, grip, club, target, and swing intention the same. Reapply the face spray every five shots so you can see the strike pattern.
Start with the middle position for 20 shots. Then hit 20 from the forward position and 20 from the back position. If you are concerned that fatigue or warming up will influence the result, rotate in five-ball blocks until each position reaches 20.
Record five details after every shot
1. Contact: solid, thin, or heavy.
2. Face strike: center, heel, or toe.
3. Start line: left, on target, or right.
4. Curve: left, straight, or right.
5. Distance: short, normal, or long relative to your normal solid shot.
Do not judge the test by the single best shot. Look for the position that produces the tightest group of acceptable strikes and the most predictable miss.
A simple scoring method
Give each shot:
2 points for solid contact and a playable start line.
1 point for one acceptable trait but a clear miss in the other.
0 points for a thin, heavy, or clearly unplayable result.
Each position is worth 40 points. Record the score, but also count the type of miss. Two positions can finish with similar scores while producing very different problems.
How to Read Your Results
The winning position should improve more than one lucky swing. Look for these patterns.
Forward position produces more thin shots and rightward misses
The ball may be too far forward for your current low point and face delivery. Return toward the middle or move back by half a ball width, then retest ten shots. This was the useful adjustment in my own iron setup when I saw thin contact and a shot that started right and cut farther right.
Back position produces lower shots and more pulls
The ball may be too far back, or you may be reacting to it by steepening the strike and closing the face. Move toward the middle and retest. Do not keep pushing the ball backward simply because one shot felt compressed.
Every position produces heavy contact
Ball position may not be the main problem. Check whether the turf contact begins behind the ball at all three stations. My guide to why golfers chunk iron shots will help you test low point, pressure, and setup in the right order.
Contact improves but the curve stays the same
Keep the improved ball position as your baseline, then address face and path separately. Do not throw away better contact because it did not erase the entire curve in one session.
The results are mixed
Repeat the test on another day. A single session can reveal a strong setup error, but it should not become a permanent rule when all three groups look similar.
Build the Best Position Into Your Routine
Once you find the most reliable position, you need a routine that reproduces it without alignment sticks.
I like to build the stance around the ball:
1. Aim the clubface at the target.
2. Set the lead foot so the ball matches your tested center reference.
3. Add the trail foot to create the normal stance width.
4. Make one glance from the ball to your shirt buttons or zipper line.
5. Look at the target and swing.
This order keeps the ball from drifting when the stance becomes wider or narrower. Practice it for ten rehearsal setups before hitting another ten balls. Step away after every shot and begin again. Raking balls into place without resetting your feet does not train the routine you will use on the course.
How to Use Ball Position on the Course
Take your tested stock position to the course. Do not move the ball around after every miss.
If you hit one thin shot, collect more information before changing anything. Was the strike thin because the ball crept forward, or did you stand up through impact? Was the shot a cut because of ball position, or did the face and path change? One swing cannot answer those questions.
Make an on-course adjustment only when you can identify a setup drift. For example, if two iron shots have been thin and you can see the ball sitting farther forward than your normal reference, return it to your stock position. Avoid making a large move to manufacture a draw or fade unless you have practiced that shot.
For golfers trying to break 90, I care more about predictable contact and a playable miss than perfect curvature. A reliable ball position helps you choose a target based on your normal pattern. That is more useful than chasing a different setup in the middle of the round.
Your Next Practice Session
Use one range session to complete the 60-ball test. Choose the best position from the pattern, then finish with ten shots using a full pre-shot routine. Write the position and the most common miss in your notes before you leave.
At your next session, begin with ten balls from that position. If the contact and start line remain more predictable, you have a useful baseline. If the old pattern returns, check aim, distance from the ball, and low point before changing the position again.
| Practice with a plan: If you want your setup, contact, short game, and putting work organized for you, explore the Foy Golf Academy Practice Plans and 150-Practice Bundle. |
Test first. Keep the position that produces the most repeatable contact. Then let the pattern, not the last bad shot, tell you what to practice next.