
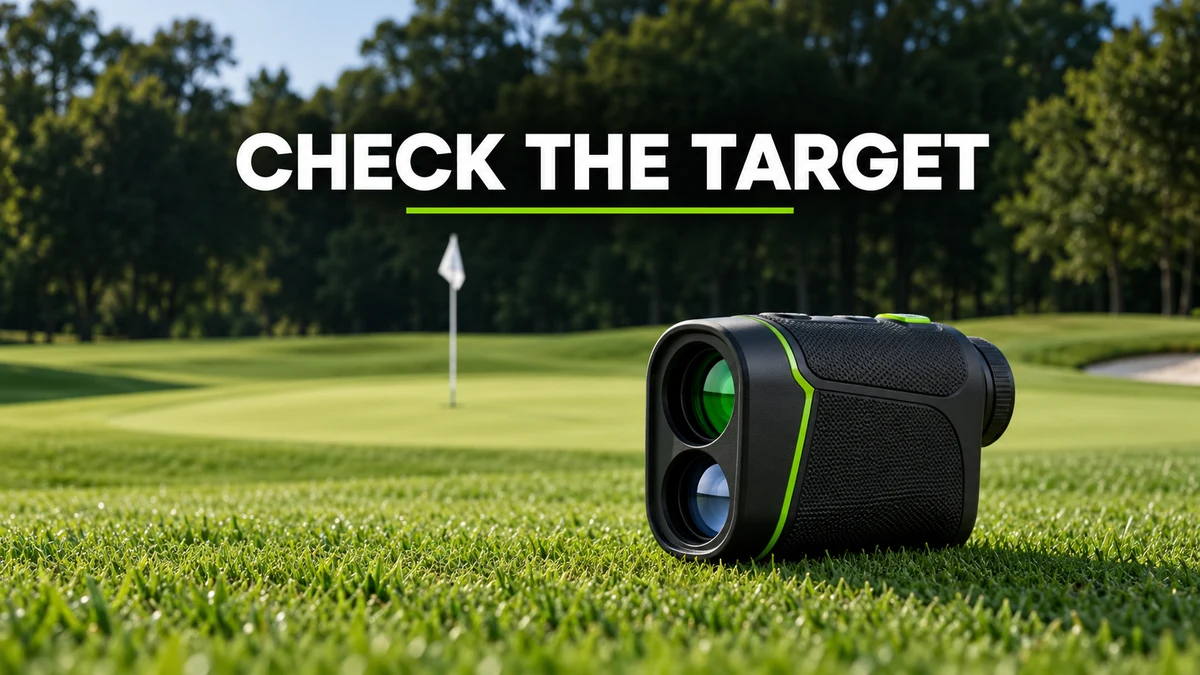
How to Use a Golf Rangefinder Without Measuring the Wrong Target
You make solid contact, watch the ball fly directly toward the flag, and then see it sail over the green.
Sometimes the swing wasn’t the problem. You chose a club for the trees behind the green because that’s what your rangefinder measured.
A laser rangefinder gives you a precise-looking number. Your job is to confirm what that number represents.
To use a golf rangefinder reliably, identify the target, steady the device, repeat the reading, and check whether the distance makes sense before choosing a club.
Then use that information to plan the shot. The flag distance is useful, but it doesn’t tell you everything about where your ball should land.
Here’s the routine I recommend.
Understand What a Laser Rangefinder Measures
A basic laser rangefinder measures distance to the object its laser detects.
That object might be the flagstick. It could also be a tree behind the green, a mound in front of it, or another object near your aiming point.
The device doesn’t know that you intend to hit an 8-iron toward the middle of the green. It reports a measurement based on the return it receives.
Flag-seeking features help separate the flag from background objects, but you still need to aim correctly and interpret the result.
Before using an unfamiliar device, learn three things:
- How to take a single measurement.
- How its scan or flag-seeking mode works.
- What its vibration, symbol, or display change means.
The buttons and confirmation signals vary by model. Don’t assume every rangefinder operates like the one you borrowed last season.
Set Up the Device Before Your Round
A few checks before the first tee prevent unnecessary confusion later.
Confirm yards or meters
Make sure the displayed units match the distances you use for your clubs.
If your usual 150-yard shot suddenly appears to measure around 137, check the units before deciding something is wrong with the course.
Adjust the eyepiece
If your model has an adjustable eyepiece, bring the display and aiming mark into clear focus.
A blurry view makes identifying a narrow flagstick harder. Take care of that adjustment before you’re standing over an important approach.
Check the battery and lenses
Follow the manufacturer’s battery and lens-care instructions.
Keep the viewing and laser windows clear, and avoid covering them with your fingers when holding the device.
If readings become unreliable, check these basics before assuming the unit needs replacing.
Use a Simple Read–Repeat–Check Routine
You don’t need to measure the flag six times. You need a repeatable process that catches an obvious mistake.
1. Identify the flag before pressing the button
Find the actual flagstick and distinguish it from the background.
If the flag is difficult to see, don’t wave the device across the green and accept whichever number appears.
A clear target matters more than a fast first reading.
2. Hold the device comfortably
Use two hands if that helps. Keep your elbows closer to your body and press the measurement button without jabbing it.
The goal is a steady view, not a rigid posture.
3. Use the correct acquisition mode
Follow the instructions for your model.
For example, Bushnell’s Pro XE operating guide describes holding the measurement button while moving across background objects and then placing the aiming circle over the flag. Its vibration and visual indicator provide target-acquisition feedback. That procedure is specific to the device; check your own manual for the equivalent steps.
4. Lower the device and measure again
Reset your aim rather than continuing to hold it on the same spot.
If you get 151 and 152 yards, the readings are reasonably consistent for an ordinary club-selection decision.
If you get 151 and 184, stop and identify what each reading might represent.
Don’t automatically accept the shorter number. A foreground object can also produce an incorrect reading.
5. Check whether the distance fits the hole
Compare the result with another useful reference: a course marker, a yardage book, or GPS front–middle–back distances.
These sources may measure different reference points, so they won’t always agree exactly. You’re looking for a meaningful contradiction.
On a fairly level approach, a flag reading well beyond the GPS back-of-green distance deserves another look. First confirm the correct hole, units, and measurement mode.
Repeated readings show consistency. They don’t prove you measured the correct object.
Measure the Distance That Changes Your Decision
The flag is only one target.
Before choosing a club, ask what you need to avoid and where you have room to miss.
The carry needed to clear trouble
If a bunker guards the green, the important number may be the distance beyond its far edge.
Measuring the nearest bunker lip tells you where the bunker begins. It doesn’t tell you how far the ball must carry to clear it.
Only trust a laser reading when you can identify the exact surface or object being measured. A hidden far edge cannot be measured reliably just by aiming toward where you think it is.
Use a course map, yardage book, or appropriate GPS hazard information when the required point isn’t visible.
The distance where trouble begins
On a layup, you may need the distance to the near edge of a bunker or the point where the fairway runs out.
That number helps establish a maximum finishing distance.
Remember that your ball may roll after landing. A club that carries short of the hazard can still reach it on firm ground.
The room available behind the flag
A back pin can tempt you to select a club that reaches the flag on a perfect strike.
But if there’s little green behind it, you may be better served by a shorter landing target.
Choose a target that fits your normal shot pattern. My 10-ball iron dispersion test will help you understand how much room your shots actually need.
Match the Yardage to Carry Distance
A verified rangefinder reading still needs to be matched with the right club.
If the ball must fly over a bunker, use your carry distance rather than the distance your best shot travels after rolling.
And use a realistic carry range, not the longest number you remember hitting.
A club that sometimes carries 150 yards and frequently carries 138 is a questionable choice for a forced carry of 147.
Use my 20-ball club-distance test to build a more useful picture of your distances.
If poor approaches keep showing up on your scorecard, the free Shot Leak Audit and Break 90 Blueprint can help you decide whether the bigger issue is contact, club selection, or target choice.
Keep Slope Distance Separate From Measured Distance
A slope-enabled rangefinder may display both the measured distance and an adjusted “plays like” distance.
Know which number you’re reading.
The adjusted number is a calculation intended to help account for elevation. It isn’t a promise about how your particular shot will fly, and it doesn’t remove the need to consider the lie, wind, and your normal contact.
When playing under the Rules of Golf, distance measurement is generally permitted unless the Committee prohibits it. Measuring elevation changes and using certain interpretive functions, such as location-based club recommendations, are restricted under Rule 4.3. Check the event’s Local Rules and disable prohibited functions before play. The Player’s Equipment
Don’t assume a device is ready for competition simply because its packaging says “tournament legal.” Its settings and the event’s rules still matter.
A Hypothetical High-School Golf Example
Imagine a high-school golfer standing on a fairly level approach.
The first laser reading says 178 yards. The GPS shows approximately 140 to the front, 153 to the middle, and 166 to the back.
This is a hypothetical coaching example.
I would ask, “What did you measure?”
The player lowers the device, locates the flag more carefully, and gets readings of 154 and 155. The longer reading appears to have come from behind the green.
That changes the club decision before a swing is made.
The lesson is to check the number against the situation. A good swing with a club selected for the wrong target can still create a poor result.
Practice With a Five-Target Verification Drill
You can improve this skill without hitting a ball.
At a practice facility, choose five visible fixed targets at different distances. Use clearly identifiable objects, including flags where available.
For each target:
- Estimate the distance.
- Take a laser reading.
- Lower the device completely.
- Aim again and repeat the reading.
- Compare with a reliable reference when available.
A posted range sign is only useful if you know where its distance was measured from. Your hitting station may be several yards ahead of or behind that point.
Give yourself:
- One point for two readings that agree within about two yards.
- One point for checking the target’s identity against a useful independent reference.
That gives you a maximum of 10 points. Treat the two-yard range as a practice benchmark, not a specification for every device.
If you can repeat a reading but can’t verify the object, you’ve practiced consistency without establishing accuracy.
Next, select one target and explain aloud which club you would hit, where you would aim, and what miss you would allow.
That final step connects the device to a golf decision.
Get the Information, Then Commit
Prepare while others are playing when it’s safe and courteous to do so.
Once you have a sensible, verified distance and a clear target, put the device away. Repeatedly checking the same number won’t improve your strike.
A useful rangefinder routine ends with a decision:
“I know the target, I know the relevant distance, and I’ve chosen a club for my normal shot.”
For practice sessions that connect reliable yardages with better contact and smarter targets, explore the Foy Golf Academy practice plans. Give your measurements a purpose by practicing the shots and decisions you need on the course.