
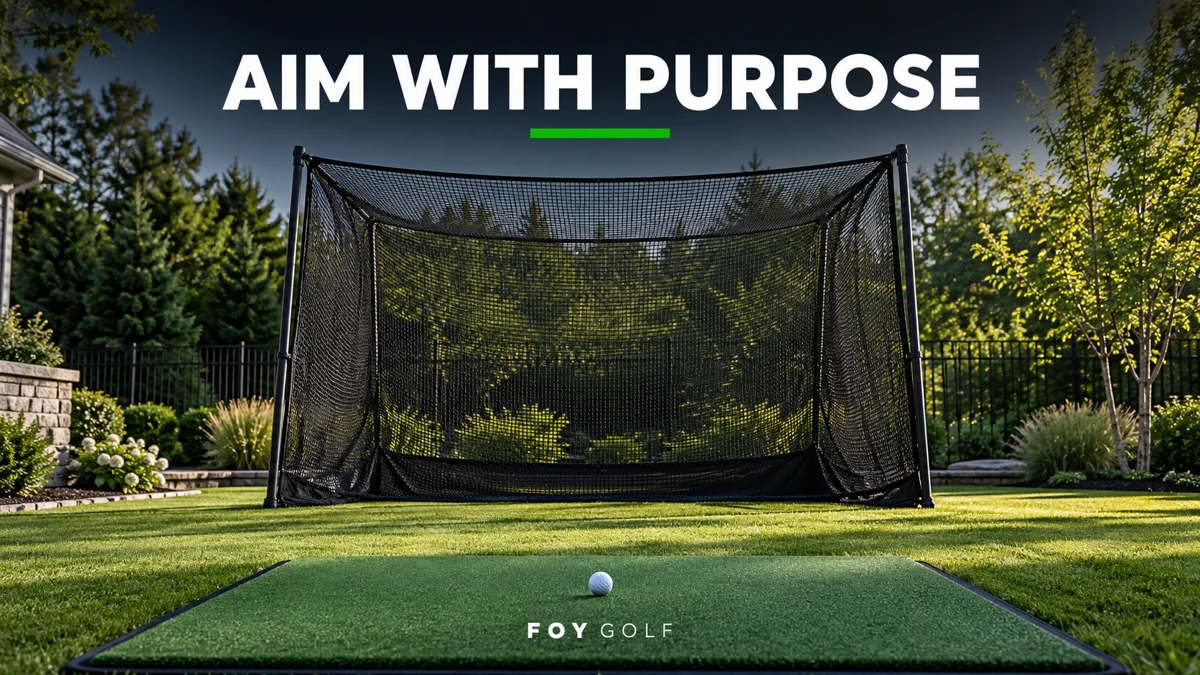
How to Aim Into a Golf Net Without Training the Wrong Target Line
You finish a practice session at home feeling like you hit the ball well. Everything went into the net, contact sounded solid, and your swing felt comfortable.
Then you get to the driving range and discover that your shots are starting somewhere different from where you thought you were aiming.
Before rebuilding your swing, check the practice station.
A net catches the ball. It doesn’t automatically give you a reliable target line. The edge of your mat, the center of the net, and the direction your feet point can all disagree without looking obviously wrong from address.
To aim into a golf net, establish a clear line from the ball toward a safe central target reference, set the clubface relative to that line, and position your body parallel to it. Recheck the station whenever the mat, net, or ball position moves.
Here is how I would organize that process.
Start With a Safe Hitting Position
Your hitting position needs to follow the instructions for your particular net.
There isn’t one ball-to-net distance that works for every design, club, and room. Follow the manufacturer’s requirements for placement, clearance, anchoring, and any side protection.
Check that you have room for the entire swing, including the follow-through. A slow rehearsal helps identify an obvious obstruction, but it doesn’t replace the required clearance.
Inspect the net and golf balls before practicing. The Net Return’s product-use guidance specifically recommends checking for fraying, avoiding damaged balls, and keeping the practice area clear.
Once you have a suitable hitting position, build your target reference around it.
Don’t move closer to the net just to make an aiming drill easier.

Stop Treating the Mat Edge as Your Target Line
A rectangular mat gives your eyes a strong reference.
That becomes a problem when you assume the mat points where you want to hit.
The mat might have shifted during the last session. You might have moved it to create more room for your stance. Or the net itself might sit at a slight angle to the room.
Before hitting a ball, stand behind your hitting position and ask:
- Where is the ball?
- What reference am I using in the net?
- Does the mat actually line up with those two points?
If they disagree, trust the line you deliberately establish from the ball. Either reposition the mat or stop using its edges to aim.
You don’t need to make every object in the room look square. You need one dependable reference for the shot.
Choose a Central Direction, Not a Tiny Impact Spot
Use a visible reference within the net’s safe central hitting area.
That might be the center of the manufacturer’s target panel or another clear feature already built into the net. Avoid adding hard objects, rigid targets, or attachments that the manufacturer hasn’t approved.
Think of this reference as establishing direction.
A pitching wedge and a 7-iron won’t necessarily strike the net at the same height. Trying to force both clubs into the same small circle can encourage you to manipulate trajectory.
For ordinary setup practice, I want you to know where you intend to start the ball horizontally. I don’t want you steering every club toward an identical height.
If your net has a hanging target that twists or shifts, straighten it before using it as a reference. Don’t let a moving target quietly redefine your aim.
Resource: Grab these 50 practice templates… organized into Driving Range, Chipping, and Putting so you’re not guessing what to work on. Learn more on our home page.
Build the Ball-to-Target Line Before Taking Your Stance
Stand behind the ball and look toward your chosen central reference.
Pick a small, flat intermediate reference on the ground along that direction. A suitable mark on the mat can work. Keep anything loose or raised out of the club’s path.
If the direction is difficult to judge, you can temporarily use a straightedge or string while setting up the station. Remove it completely before swinging.
Then follow this order:
- Identify the target direction from behind the ball.
- Aim the clubface relative to that line.
- Build your stance around the clubface.
- Check your body alignment without changing the target.
For a neutral setup check, aim the clubface square to the intended line. If you are working on a specific shot shape with a coach, use the face and body relationships prescribed for that task.
The important part is having a deliberate reference instead of relying on what looks comfortable.
My golf alignment drills provide additional ways to practice these setup relationships when you have access to a range.
Keep the Foot Line Parallel to the Ball Line
This is where a close net can create confusion.
Your feet are beside the ball. They are not on the ball’s target line.
For a neutral setup, the line across your toes should run parallel to the ball-to-target line. If you point both lines at the exact same nearby spot, they converge.
For a right-handed golfer, a parallel foot line runs to the left of the ball line. For a left-handed golfer, it runs to the right.
You can check this with a second ground reference beside your stance, safely clear of the swing. It should run alongside the ball line rather than angle toward its endpoint.
Don’t force your feet, hips, and shoulders into uncomfortable positions to make them appear perfectly matched. Use the reference to notice an obvious setup difference, then address that difference deliberately.
Recheck When You Change Clubs or Ball Position
A station that works for one club can become misleading when you switch clubs.
You might move the ball forward for a longer club, change your distance from it, or use a different part of the hitting strip.
After making that change, stand behind the new ball position and check the direction again.
The same applies if the mat slides or you reposition the net between sessions.
I would put two simple reminders on a practice note:
New club: check the ball line.
Moved equipment: rebuild the station.
That small reset prevents you from spending an entire session practicing toward a reference that no longer matches your setup.
Understand What the Net Can Tell You
A net is useful for practicing setup, contact, balance, and a specific movement.
It has limits.
The place where the ball first meets the net provides a short-distance directional clue. It doesn’t show the complete shot shape, carry distance, or finishing position.
Two shots can reach a nearby net in a similar area and curve differently over a full flight.
Also, watch the initial contact with the net rather than where the ball rolls afterward. Net movement and return design can influence where the ball comes back.
If you need help separating starting direction from curve, read my explanation of face angle versus club path.
A useful home session should end with a clear statement about what you practiced. “I completed my setup routine consistently” is more defensible than “I fixed my slice” when you never saw full ball flight.
Try This 15-Ball Setup Routine
Choose a comfortable iron that your practice space and net safely accommodate.
Keep the same ball position and central target reference throughout the drill.
Balls 1–5: Use the full station
Before every shot:
- Step behind the ball.
- Identify the target direction.
- Set the clubface.
- Set your stance.
- Make a controlled swing.
Give yourself one point when you complete all four setup steps before swinging.
Record contact separately as solid, heavy, thin, or uncertain. Don’t award a setup point simply because the strike sounded good.
Balls 6–10: Remove the foot-line reminder
Keep the ball-to-target reference, but remove the extra guide beside your feet.
Build your stance without it. After the fifth ball, stop and check whether your foot line has drifted.
Again, score one point per complete setup routine.
Balls 11–15: Start fresh every time
Step away from the mat between shots.
Return as though you are approaching a new shot on the course. Avoid dragging the next ball into place and swinging immediately.
Your target is 15 completed routines.
If you score fewer than 12, repeat the same drill next time with the full station. That is a practice benchmark, not a claim about your handicap or swing quality.
A Hypothetical High-School Practice Example
Imagine a high-school golfer practicing in a garage.
The mat points slightly right of the net’s center, but the golfer assumes the mat edge is the target line. The player aims the clubface toward the net while arranging the feet along the mat.
This is a hypothetical example.
I would first rebuild the station and ask the player to describe the intended line before making another swing.
There may still be a swing issue. But a mismatched practice station makes that issue harder to evaluate.
If you aren’t sure which part of your game deserves your limited practice time, use the free Shot Leak Audit and Break 90 Blueprint to choose a priority.
Take the Same Routine to the Range
At your next range session, choose a clear target and hit ten shots with the same club.
Use the routine you practiced at home. Record where each ball starts and how it curves.
That gives you information the net couldn’t provide.
If your starting direction differs from what you expected, check your outdoor alignment before changing the swing. Then use the full flight to decide what needs attention.
For more home practice options, explore my guide to practicing golf at home without a simulator.
Build your sessions around a specific task, a reliable reference, and a way to measure progress. The Foy Golf Academy practice plans will help you organize those sessions and connect them to better decisions and execution on the course.