
How to Clean Golf Club Grooves Without Damaging the Face
You pull a wedge from the bag and find yesterday’s practice session still packed into the grooves.
A quick wipe removes the grass from the surface, but several grooves remain filled with dried dirt. You reach for something sharp and start scraping.
That’s where a simple maintenance job can become unnecessarily aggressive.
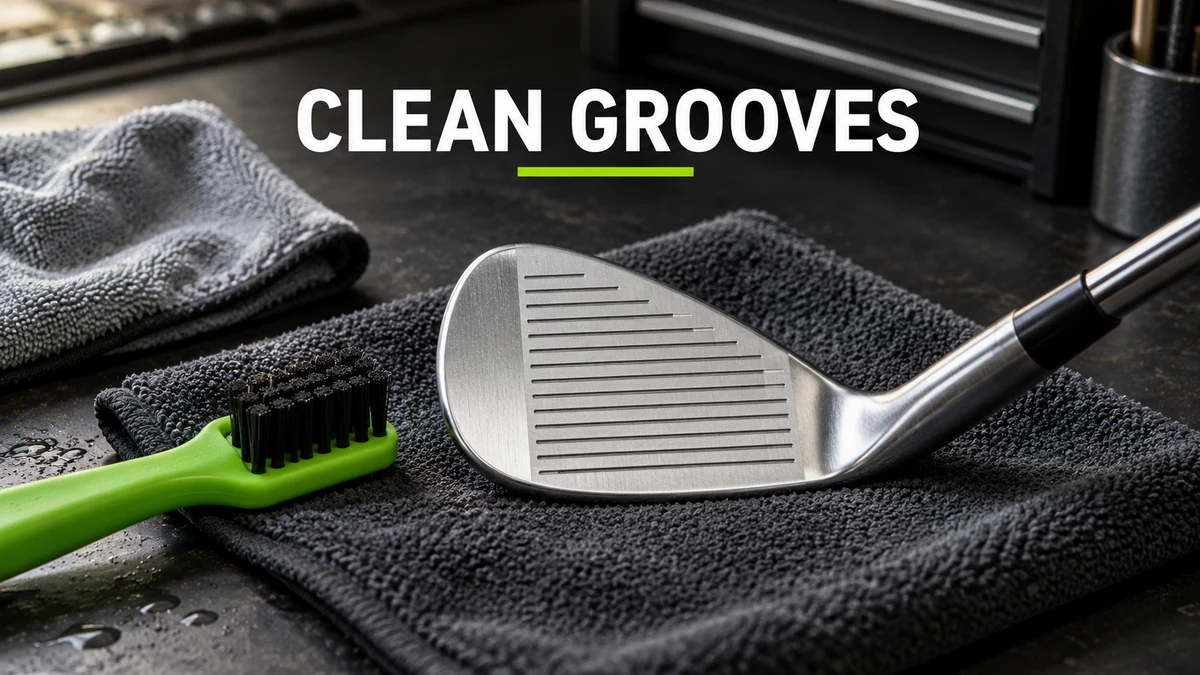
To clean golf club grooves safely, loosen the dirt with a damp cloth, use a soft nylon brush, wipe away the residue, and dry the face. Follow the manufacturer’s instructions for your club’s construction and finish.
The goal is to remove material that doesn’t belong on the face while preserving the surface underneath.
You don’t need to make the grooves sharper. You need to keep them clear.
Why Clean Grooves Matter
Grooves help manage moisture and debris at impact. When they’re packed with dirt, the club isn’t operating under the same conditions as a clean face.
Vokey’s groove-cleaning guidance explains that buildup from turf, sand, and practice can affect wedge spin and control. Vokey Blog
That doesn’t mean cleaning guarantees a particular amount of spin. Contact, delivery, ball choice, lie, and surface conditions still matter.
From a coaching standpoint, I want to remove avoidable variables before evaluating the swing.
If one pitch comes from a clean, dry face and the next comes from a face covered in wet grass, you’ve changed more than the motion.
For the technique side, my guide to creating spin on pitch shots from 30 to 60 yards covers the broader skill.
Put Together a Small Cleaning Kit
Start with:
- A clean cloth you can dampen.
- A separate dry towel.
- A soft nylon club brush or soft toothbrush.
- Water and, where the manufacturer permits it, a little mild soap.
Keep the brush itself clean. If it’s packed with grit from the previous session, clean it before putting it back on the face.
You don’t need a screwdriver, knife, powered brush, or groove-cutting tool for routine cleaning.
For mixed-material irons, painted surfaces, and delicate finishes, use particular care. One cleaning method should not automatically be applied to every head in the bag.
Follow a Gentle Cleaning Sequence
1. Inspect the face
Look across the grooves before brushing.
Identify whether you’re dealing with fresh grass, dried soil, sand, or something that may actually be a mark in the finish.
A dark line isn’t always trapped dirt. If it doesn’t lift with gentle cleaning, don’t immediately increase the force.
2. Dampen the dirty area
Use the damp cloth to soften the buildup.
Work on the face rather than immersing the whole club as your default approach.
Titleist’s club-care guidance recommends a damp cloth and soft brush for its multi-material irons and advises against soaking those clubs. Care directions can differ for particular wedges, so follow the instructions for your exact model. Team Titleist
3. Brush gently
Use short, controlled strokes across the dirty area and along the grooves.
Hold the head securely so you can see what you’re doing. Reposition it instead of pressing harder into an awkward angle.
If compacted dirt remains, dampen it again and give it more time to loosen.
4. Wipe and inspect
Remove the loosened material with the cloth.
Turn the face toward the light and look for remaining buildup. Pay attention to the central strike area, but inspect the rest of the face too.
5. Dry before putting the club away
Finish with the dry towel.
Check around the head and accessible recesses for moisture. Return the club to storage once it’s dry.
This process should leave the face clean, not coated in cleaning residue.
Why I Would Start With Nylon Instead of Metal
A metal brush isn’t necessary for most routine cleaning.
My default recommendation is soft nylon because it gives you a simple starting point across a range of clubs and finishes.
That isn’t a claim that every metal brush damages every club. Materials and finishes differ.
The practical question is whether you need the more aggressive tool. If water, a cloth, and a soft brush remove the buildup, there’s little reason to escalate.
If something remains stuck, check the manufacturer’s advice before changing tools or chemicals.
Cleaning and Groove Sharpening Are Different Jobs
A cleaning brush removes debris. A groove sharpener can remove metal and change the groove.
That distinction matters.
The USGA’s club-face equipment requirements include specifications for grooves and address deliberately altered face markings, including re-grooving. Altering grooves can affect whether a club conforms. usga.org
I would not treat a sharpening tool as part of normal cleaning.
If you suspect the grooves are worn, have the club assessed rather than trying to restore performance by cutting into the face yourself.
Cleaning also can’t reverse wear. Once debris is gone, further scraping won’t bring missing material back.
Don’t Try to Make Every Wedge Look Brand-New
Some wedges have raw or intentionally changing finishes.
A surface appearance you dislike may be part of how that model ages. Check the finish description before trying to remove discoloration.
The Vokey specialist in Titleist’s care guidance notes that some unchromed finishes are designed to rust and advises against abrasive removal methods such as buffing wheels or harsh chemical treatments.
For routine care, stay focused on loose contamination and moisture. Don’t turn a cleaning session into an unplanned refinishing project.
If you find a raised burr, deep gouge, loose component, or unexplained damage, stop and have it checked.
Clean During Practice, Not Just Afterward
This is where I would connect equipment care to better practice.
You hit a wedge, inspect the result, and prepare for the next ball. Add a face check before deciding that the next swing needs a technical change.
The sequence is simple:
Hit, observe, inspect, clean if needed, then reset.
You don’t need to scrub a clean club between every ball. You do need to notice when the strike has left soil or grass where the next impact will occur.
The same applies after bunker practice. Check for remaining sand before continuing to another type of shot.
If your practice sessions feel inconsistent, use the free Shot Leak Audit and Break 90 Blueprint to identify the bigger scoring priority. Equipment preparation supports the work; it doesn’t replace it.
A Hypothetical Private-Lesson Example
Imagine a private student practicing a short pitch.
The first few shots come from a clean face. Then the student hits behind the ball, covers the lower grooves with soil, and immediately plays another shot without checking the club.
That next ball behaves differently.
This is a hypothetical example, not a documented lesson result.
Before changing the student’s release or ball position, I would reset the conditions: clean the face, choose a comparable lie, and repeat the intended shot.
That doesn’t prove the dirt caused the previous result. It gives us a more useful starting point for evaluating the next one.
Good practice depends on noticing what changed.
Use a 10-Shot Clean-Face Practice Check
Choose one wedge and a comfortable pitch distance where you can make a controlled swing.
Select a landing area about five yards deep. Adjust its size if necessary so the task is realistic.
Before each of 10 shots:
- Inspect the face.
- Remove any visible debris.
- Dry it as needed.
- Choose the landing spot.
- Play the shot and record the result.
Keep two separate scores.
Preparation score: One point when you complete the face check and necessary cleaning before the shot. Maximum: 10.
Landing score: One point when the ball first lands in the selected area. Maximum: 10.
The preparation target is 10 out of 10. For landing performance, record your starting score and try to improve it over several sessions.
Keeping the scores separate is useful. A missed target doesn’t mean the cleaning routine failed, and a lucky landing doesn’t mean the preparation was good.
Don’t deliberately pack dirt into the grooves for a comparison. This drill is about building a repeatable habit.
Make the Routine Easy to Maintain
Place the brush and towel where you can reach them naturally.
If cleaning requires opening three pockets or walking back to the cart, you’re less likely to do it consistently.
After the round, inspect the clubs you used, finish any needed cleaning, and dry the equipment before storage. Clean the brush and towel too.
You’re preparing the next session while finishing this one.
For structured practice that connects preparation, contact, landing control, and scoring, explore the Foy Golf Academy practice plans. Start each session with equipment ready to use and a clear skill to improve.