
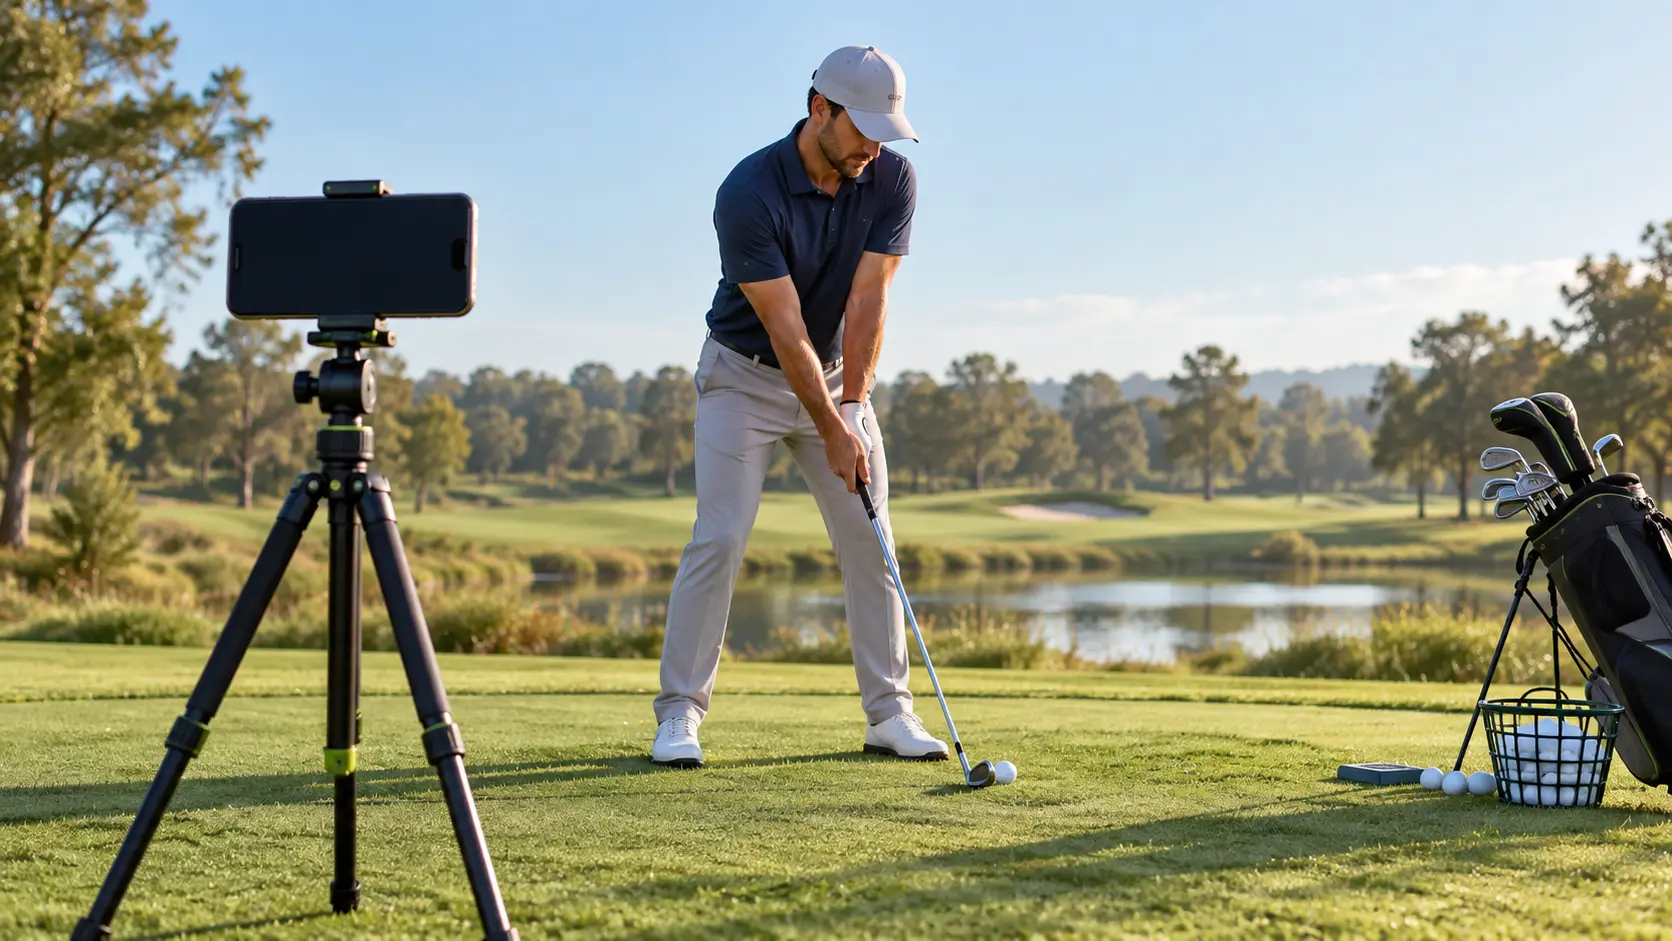
How to Film Your Golf Swing: Two Useful Phone Angles
You watch a video of your swing and immediately find something you want to change.
The club looks too far inside. Your posture looks different. Your backswing seems completely unlike the swing you thought you were making.
Before you start rebuilding anything, check where the camera was sitting.
A phone placed too far to one side can change how your swing appears. Move the camera between sessions, and you may mistake a different perspective for a different golf swing.
My coaching priority is to get footage that answers a useful question. You need a clear, repeatable view of what happened, along with some information about the shot.
Start with two angles: down the line and face on. Use a stable phone position, keep your entire swing visible, and record several ordinary shots rather than saving only your best one.
What You Need to Record Your Swing
Keep the equipment simple:
- Your phone.
- A stable tripod or phone holder.
- An alignment stick or spare club.
- Enough space to swing safely.
- A target and a short note about each shot.
A dedicated swing-analysis app can be useful, but you can begin with your phone’s camera.
The tripod matters because it helps you repeat the position. A friend holding the phone may unintentionally change the height, tilt, or angle from one swing to the next.
Keep every piece of equipment outside your swing arc and clear of neighboring hitting areas. If a crowded range does not offer a safe face-on position, record that view somewhere else.
Choose a Target Before Positioning the Camera
Your camera setup needs a reference.
Select a specific target, then place an alignment stick on the ground parallel to the intended target line, safely outside the club’s path. The target line is the direction from your ball toward the target.
Do not simply align the camera with the edges of a range mat. The mat may point somewhere different from your intended shot.
If you struggle to organize your aim, use these golf alignment drills before recording.
Once your target is established, position the camera for the view you want.

Angle One: How to Film Down the Line
The down-the-line view looks toward the target from behind your setup.
For a useful starting position, place the camera approximately at your hands’ height at address, behind the line your hands occupy, looking parallel to the target line.
That means you should not automatically place it directly behind the ball or far outside your feet. Those positions create different perspectives.
Start roughly 10–12 feet away if space allows, then adjust the distance until your full body and club remain visible throughout the swing. Keep the phone level instead of tilting it sharply upward.
If your instructor requests a particular position, follow that specification consistently. V1 Sports provides a helpful guide to filming both standard swing angles.
What This View Can Help You Observe
Use down-the-line footage to look at visible relationships such as:
- Your address posture.
- The space between your hands and body.
- The club’s apparent movement during the takeaway.
- Changes in your body’s position relative to the ball.
- Your balance through the finish.
Treat the footage as a view of movement, not a complete measurement system.
A line drawn on a phone screen does not establish your exact three-dimensional club path or explain every reason the ball curved.
Angle Two: How to Film Face On
The face-on view looks toward the front of your body, perpendicular to the target line.
As a practical default, center the camera opposite the middle of your stance, around hand height at address. Keep the phone level and far enough away to include the whole swing.
Different coaches may request centering on the ball or another reference point. Use the position your coach asks for, and keep it the same when comparing clips.
Avoid placing the camera noticeably toward the target or behind your trail side. That creates an angled view rather than a straightforward face-on recording.
The PGA of America also recommends collecting both face-on and down-the-line footage with the camera around hand height at address.
What This View Can Help You Observe
Face-on footage is useful for reviewing:
- Ball position relative to your stance.
- Stance width.
- Visible movement toward or away from the target.
- The relationship between your hands and the ball.
- The length and rhythm of your motion.
Be careful with conclusions about pressure or weight distribution. A normal video shows body movement; it does not directly measure how much pressure is under each foot.
Check the Frame Before Hitting a Ball
Record one slow rehearsal and watch it back.
Can you see your feet, the ball, the top of the backswing, and the finish? Does the clubhead disappear beyond the frame?
If something important is missing, move the camera back before recording full swings.
Start with the normal lens rather than an ultrawide setting. Use a consistent orientation and zoom level between recordings. Portrait can work well when it captures the entire swing; landscape can work too if you leave enough vertical room.
For slow-motion review, try 120 frames per second if your phone supports it and the lighting is good. Higher frame rates are not automatically better in a dim garage. A clear image is more useful than a dark, blurry clip recorded at a higher setting.
Clean the lens and check that the phone is focusing on you rather than a nearby bag or fence.
Record the Shot You Actually Hit
A useful clip includes more than your movement.
After each shot, say what happened:
“Started right, curved farther right, contact felt toward the heel.”
Or:
“Started near the target, small draw, solid contact.”
You can say this while the phone is still recording or add it to a note afterward.
That information gives the video a purpose. A swing that looks different but produces better contact may deserve a different conversation from one that looks tidy and repeatedly misses the target.
If you are unsure which problem deserves attention first, use my free Shot Leak Audit and Break 90 Blueprint to connect your practice with what is actually costing you shots.
A Six-Swing Recording Routine
Here is how I would organize a short recording session for a high-school golfer or private-lesson player.
Step 1: Warm Up Normally
Begin with comfortable shots and work up to your ordinary swing.
Do not make your first full-speed swing of the day the clip you use to judge your technique.
Step 2: Record Three Down-the-Line Shots
Use one club, one target, and the same camera position.
Hit three ordinary shots with your normal routine. Keep all three, including a miss.
You are looking for a useful sample of your current swing, not a highlight reel.
Step 3: Record Three Face-On Shots
Move the camera to the face-on position and check the framing again.
Use the same club and target. Describe the shot result after each swing.
Remember that these are different swings from the first three. Do not treat the two views as synchronized footage of the same motion.
Step 4: Choose One Question
Ask something specific:
“Is my ball position consistent?”
“Does my finish change when I lose balance?”
“Am I making the shorter backswing my coach asked me to practice?”
Avoid trying to diagnose ten positions at once.
Step 5: Practice, Then Recheck
Work on one appropriate adjustment, then record another small set from the same position.
Compare the intended change and the shot results. For a broader progression, read my guide to making swing changes that actually stick.
Do Not Let the Camera Create a Swing Problem
Imagine a golfer records a swing on Monday with the phone behind the hands. On Thursday, the phone is placed much closer to the ball line.
The club may appear to travel differently even if the golfer’s motion has changed very little.
Before prescribing a fix, I would first repeat the recording from the original camera position.
That is why consistency matters so much. V1’s discussion of common swing-recording mistakes highlights how camera placement and framing can interfere with analysis.
Also resist changing your swing solely because it does not resemble a professional’s freeze-frame. Your build, mobility, club, intended shot, and camera perspective all matter.
What to Send Your Golf Coach
Send a small, organized set rather than twenty unlabeled videos.
Include:
- One or two down-the-line clips.
- One or two face-on clips.
- The club used.
- Your intended target or shot shape.
- Your common miss.
- Any recent change you have been practicing.
Label the files with the date, club, and angle. Keep the original footage available instead of sending only a heavily cropped or filtered version.
Include an ordinary miss when possible. Your coach needs to understand the problem you want help solving.
Frequently Asked Questions
Should I Watch Every Swing Immediately?
Usually, you can record a small group first. Reviewing after every ball can interrupt your rhythm and encourage constant adjustments.
Use immediate feedback when it serves a specific drill, then return to hitting shots with a clear target.
Can I Film Indoors Without Hitting a Ball?
Yes, for rehearsals. Label the clip as a rehearsal because it may differ from your motion when a ball and target are involved.
Check the full swing clearance before starting.
Can Video Tell Me My Exact Clubface Angle at Impact?
Ordinary phone footage is not a reliable substitute for precise impact measurements. Motion blur, perspective, and the short duration of impact limit what you can conclude.
Use the video alongside contact and ball-flight feedback.
Make Recording Part of Practice
Set up the camera carefully, record a few representative swings, and use the footage to answer one question.
Then put the phone down and practice.
You can add this six-swing check to my 30–45 minute driving range routine without turning the entire session into video analysis.
For a complete structure across your swing, chipping, and putting, explore my Foy Golf Academy Practice Plans and give each practice session a clear purpose.