Hitting Driver Off the Heel? Fix the Strike and the Slice
When a golfer is fighting a big driver slice, I always want to know where the ball is contacting the clubface.
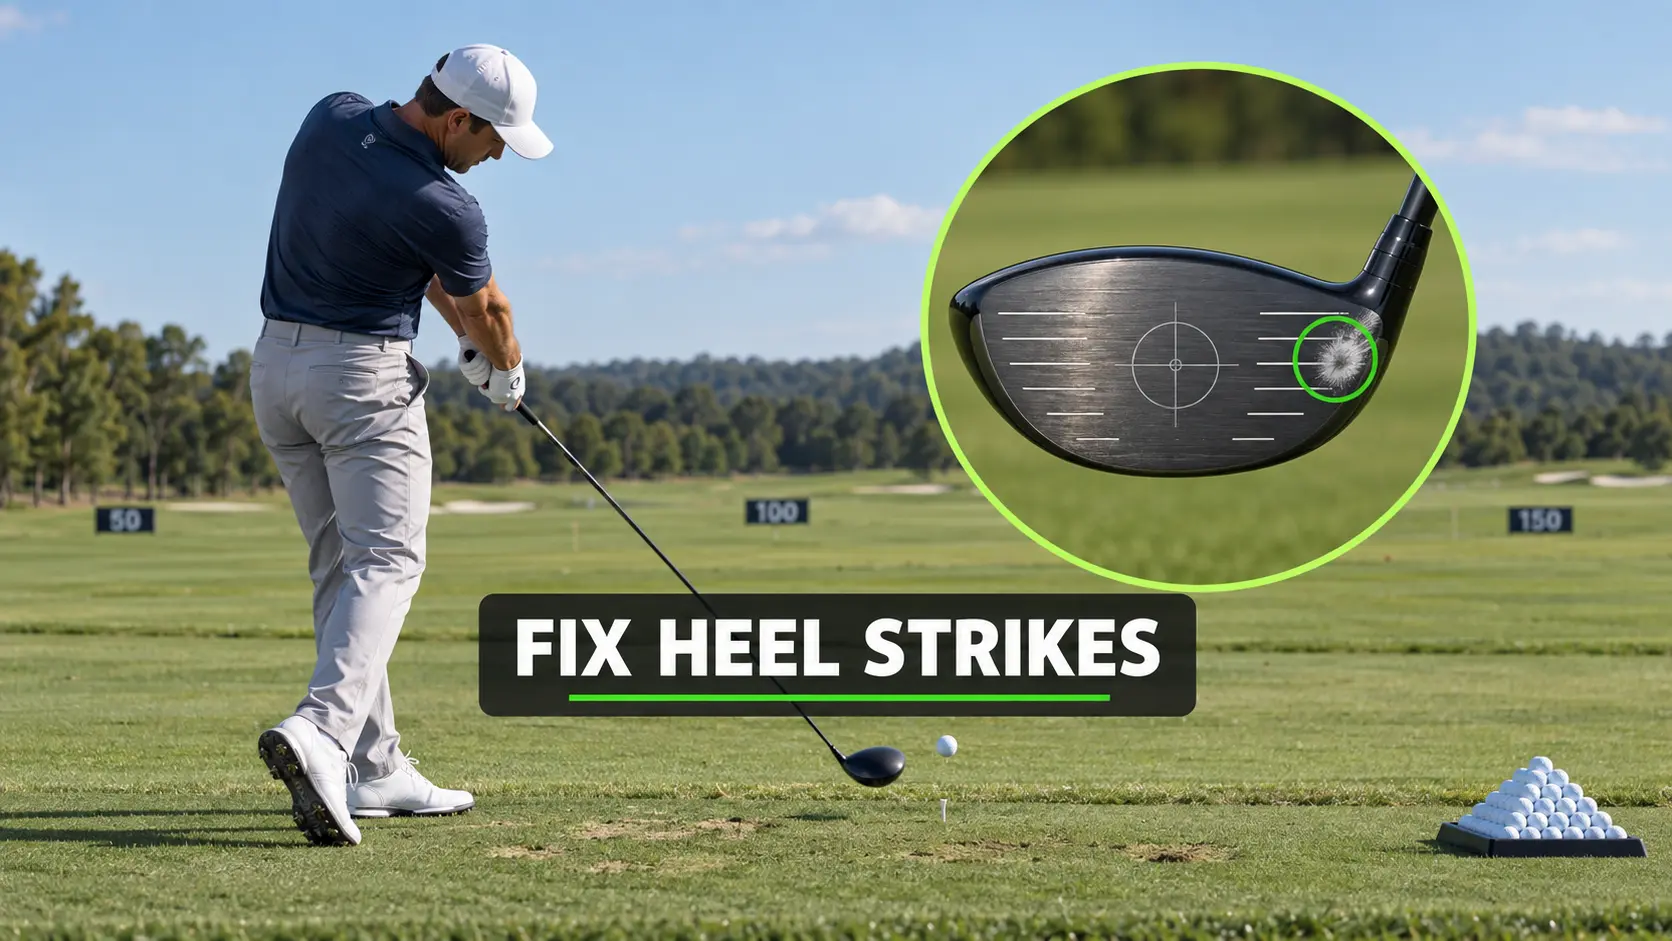
The open clubface and swing path matter, but the strike location can make the curve worse. Many golfers I work with consistently contact the driver near the heel—the section closest to the shaft.
That heel strike can cost ball speed and add more fade or slice curvature. The golfer sees the ball curve sharply right, assumes the clubface is the only problem, and begins manipulating the grip or release.
Meanwhile, the ball is still striking the heel.
The movement I commonly see is the golfer getting closer to the ball during the downswing. The hips, chest, or pressure move toward the ball, which pushes the clubhead farther outward than it was at address.
Before rebuilding your entire golf swing, confirm the contact pattern with face spray. Then test a few small changes: stand slightly farther away, address the ball toward the toe, and use a tee gate to train the clubhead back toward the center.
This article will show you exactly how to do that with a simple 20-ball test.
What Counts as a Driver Heel Strike?
The heel is the section of the driver face closest to the hosel and shaft.
A slight heel strike may still produce a playable drive. Contact that moves farther toward the hosel, however, usually feels weak and can create a much larger directional miss.
Common signs include:
- A large fade or slice
- Lower ball speed than expected
- Lost carry distance
- A weak or hollow impact sensation
- Impact marks beside the hosel
- Drives that begin left or near the target before curving sharply right
For a right-handed golfer, the ball normally curves to the right. The directions reverse for a left-handed golfer.
Do not depend on feel or ball flight alone. Apply face spray, hit several drives, and inspect the actual pattern.
If driver contact is only one of several problems costing you strokes, use my Free Break 90 Blueprint and Shot Leak Audit to identify which part of your game needs the most attention.
Why a Heel Strike Can Create a Bigger Slice
A driver has a curved clubface and a center of gravity located behind that face. When the ball is struck away from the center, the clubhead can rotate during impact and influence the ball’s spin.
This interaction is called gear effect.
As explained in Titleist’s guide to gear effect, the ball counter-rotates against the twisting clubface during an off-center strike.
A heel strike commonly adds fade or slice curvature for a right-handed golfer. If the clubface is already open relative to the swing path, the heel contact can make the resulting slice even larger.
That does not mean every slice is caused by the heel.
A centered strike can still slice because of the face-to-path relationship. Conversely, a heel strike can occur with several different swing paths. You must diagnose both the strike and the flight.
I would check them in this order:
- Confirm where the ball contacted the face.
- Record where the ball started.
- Record how much it curved.
- Correct the contact pattern.
- Reevaluate the remaining start-line or curve problem.
You may discover that the slice becomes considerably smaller once the strike moves toward the center.
Cause 1: Moving Toward the Ball During the Downswing
The most common pattern I see is the golfer moving closer to the ball between address and impact.
A golfer may begin in a reasonable position, but the hips push toward the ball, the chest moves forward, or pressure shifts excessively into the toes during the downswing.
The hands and clubhead then move outward. Instead of returning the center of the driver to the ball, the heel arrives first.
This movement is often connected to early extension. Early extension occurs when the hips move toward the ball instead of maintaining space while rotating through the shot.
Check your swing from the down-the-line camera angle. Compare the position of your backside and head at address with their positions approaching impact.
You do not need to remain perfectly still, but a noticeable movement toward the ball may explain why the strike keeps moving toward the heel.
A Simple Movement Feel
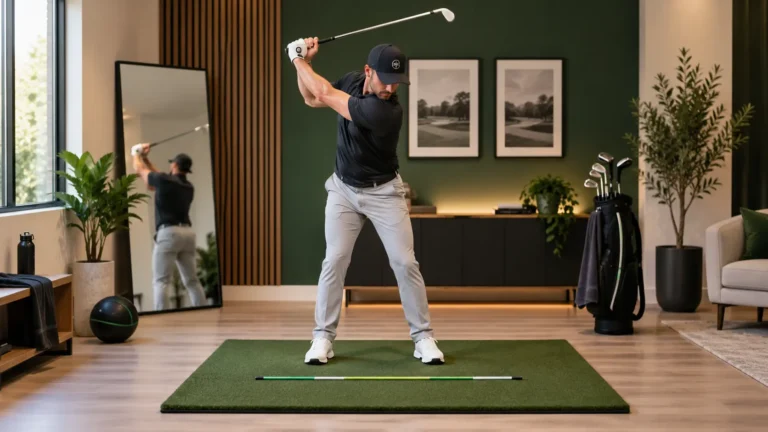
Place a chair, golf bag, or alignment stick behind your backside at address. Make slow rehearsals while maintaining light contact with that reference as you begin the downswing.
Your lead hip should rotate around and behind you rather than driving directly toward the golf ball.
Begin without a ball. Once the movement feels comfortable, hit short or reduced-speed drives before returning to your normal swing.
Cause 2: Standing Too Close at Address
A golfer who begins too close to the ball has very little space for the arms and club to move.
The body may stand up, the hands may lift, or the clubhead may move outward in an effort to create room. Any of these compensations can move contact toward the heel.
The first setup adjustment I would test is standing slightly farther away.
Move approximately half an inch farther from the ball. This is a small adjustment—not a large step backward.
You should still feel balanced through the middle of your feet. Your arms should hang comfortably rather than reaching as far as possible.
If moving farther away makes you feel stretched, you have gone too far. The goal is to create enough space for the club without replacing a crowded setup with an unstable one.
For more setup checkpoints, read How Far Should You Stand from the Golf Ball?.
Cause 3: Reaching and Losing Your Balance
Although crowding is a common cause, reaching at address can also contribute indirectly.
A golfer who reaches excessively may begin with pressure toward the toes. During the swing, that unstable position can cause the body to move even closer to the ball.
This is why “stand farther away” cannot mean “stretch your arms toward the ball.”
Build the setup in this order:
- Stand tall with the driver in front of you.
- Soften your knees.
- Hinge forward from your hips.
- Allow your arms to hang naturally.
- Set the club behind the ball.
- Adjust your feet until you feel balanced.
You should have space between the grip and your legs without feeling either cramped or stretched.

Cause 4: Early Extension
Early extension deserves separate attention because it can happen even when your address position looks good.
As the golfer begins the downswing, the hips move toward the ball and the body becomes more upright. The handle may rise, the arms become crowded, and the clubhead moves away from the golfer.
That combination can expose the heel.
The fix is not to force your head down. Instead, work on maintaining your hip depth while rotating.
Try the chair drill:
- Place the back of a chair lightly against your backside.
- Make five slow practice swings without a ball.
- Feel your trail hip maintain contact during the backswing.
- Feel your lead hip replace it as you rotate through.
- Hold your finish for three seconds to check your balance.
Next, hit five drivers at approximately 70% speed while recreating that rotation.
If the strike improves at reduced speed but returns to the heel at full speed, the movement may be breaking down when you swing harder.
Cause 5: An Outside-to-In Swing Path
An outside-to-in path occurs when the clubhead travels across the ball toward the golfer’s lead side.
This path can contribute to a slice when the clubface is open relative to it. It may also help move the clubhead outward across the ball and expose the heel, especially when combined with movement toward the ball.
Do not assume the path is wrong based only on the slice.
First confirm the heel contact. Then look at the starting direction and, if available, launch-monitor club-path data.
If your strike becomes centered but the slice remains, the swing path and clubface require additional work. Use this swing-plane drill for fixing a slice after you stabilize the contact.
Cause 6: Starting with the Ball in the Center of the Face
Centering the ball on the driver face at address seems logical, but it may not match where the club returns during your actual swing.
For a golfer who consistently moves the clubhead outward, I like testing a setup with the ball positioned toward the toe of the driver face.
You are not trying to hit the ball with the toe. You are changing the starting relationship so the center of the clubface has a better chance of returning to the ball.
At address:
- Sole the driver normally.
- Position the ball across from the toe-side half of the clubface.
- Keep your alignment and tee height unchanged.
- Make your regular swing.
- Check the new impact mark.
This is an adjustment to test, not a guarantee. Face spray will tell you whether it moves the pattern toward the center.
The Driver Tee-Gate Drill
The tee gate gives you immediate feedback when the clubhead moves too far outward or inward.
How to Build the Gate
- Tee the golf ball at your normal height.
- Set the driver behind it.
- Place one additional tee approximately half an inch beyond the toe of the driver.
- Place another tee approximately half an inch inside the heel.
- Push both feedback tees low enough that roughly one inch remains above the turf.
- Remove the driver and confirm that it can pass between the tees without touching them.
The gate should be challenging without being so narrow that you fear damaging the driver or hitting a tee on every attempt.
If you are nervous about the heel-side tee, begin with only the outside tee beyond the driver’s toe. That tee is especially useful for a golfer whose clubhead moves too far away from the body.
How to Practice It
Start with five slow practice swings without a ball. Pass the clubhead through the gate without touching either tee.
Next, hit five drives at 60% to 70% speed.
Your priorities are:
- Pass through the gate.
- Strike the center area of the face.
- Finish balanced.
- Ignore distance temporarily.
Once you can complete four out of five swings without hitting a tee, increase your speed slightly.
The gate trains awareness, but face spray remains important. A golfer can miss the tees and still strike the ball away from the center.
The 20-Ball Heel-Strike Test
This is the test I would use to determine whether the changes are actually improving your contact.
You will hit two sets of 10 balls.
What You Need
- Your driver
- 20 golf balls
- Face spray, dry shampoo, or impact tape
- Three tees
- One alignment stick
- A fairway-width target
- A notes app or scorecard
Use the same tee height, target, and approximate effort for all 20 swings. Make each swing at approximately 75% to 85% speed.
Set 1: Ten-Ball Baseline
Spray the driver face and hit 10 balls using your normal setup.
After every shot, record:
- Strike location
- Starting direction
- Amount of curve
- Whether the shot finished inside your target area
Do not change your setup after a bad shot. The purpose of the first set is to expose your normal pattern.
After the tenth ball, photograph the clubface before wiping it clean.
Look for:
- How many marks are on the heel
- How tightly the marks are grouped
- Whether the worst heel strikes created the biggest slices
- Whether the contact moved as you swung harder
Set 2: Ten Balls After the Setup Changes
Apply fresh face spray.
For the second set:
- Stand approximately half an inch farther from the ball.
- Maintain balanced pressure through the middle of your feet.
- Address the ball toward the toe of the driver.
- Use the tee gate.
- Swing at the same effort as the first set.
Hit 10 more balls and record the same information.
Do not judge the test solely by whether one drive flies straight. Compare all 10 impact marks with your baseline photograph.
How to Score Your Improvement
Use this simple scoring system:
- 2 points: Center-face strike
- 1 point: Slightly off-center but safely away from the hosel
- 0 points: Clear heel strike or contact beside the hosel
The maximum score is 20.
Your first objective is to improve on your baseline score. A practical longer-term goal is at least 16 points, representing approximately eight acceptable strikes out of 10.
Also compare the worst miss. A tighter group with no extreme heel strikes is meaningful progress even if every ball is not perfectly centered.
What to Change if the Second Set Does Not Improve
If the setup adjustment does not move the strike, do not keep standing progressively farther away.
Use the evidence to select the next test.
Contact Remains on the Heel
Reduce your swing to 60% speed and check whether your body is moving toward the ball. Use the chair drill before hitting another five-ball set.
Contact Moves to the Toe
The adjustment was too large. Move slightly closer or return the ball nearer the middle of the face at address.
Contact Centers but the Ball Still Slices
You have improved the strike, but the clubface remains open relative to the path. Begin working on face control and swing direction without abandoning the setup that improved contact.
Contact Spreads Across the Entire Face
Work on balance and tempo. Your problem may be overall strike consistency rather than one repeatable heel pattern.
Take the Fix onto the Course
Do not carry the entire tee-gate drill into your round mentally.
Use one simple setup reminder:
Create space, address it toward the toe, and finish balanced.
During practice, the face spray and tees provide feedback. On the course, trust the setup and choose a wide target.
If you are still uncertain about the driver, aim toward the side of the fairway that gives your slice additional room. A technical improvement does not remove the need for smart course management.
Final Thoughts
When I see a golfer repeatedly hitting driver off the heel, moving toward the ball is one of the first patterns I check.
Standing slightly farther away can create more room, but you still need natural arm hang and balanced pressure. Addressing the ball toward the toe can provide an immediate contact adjustment while you work on the underlying movement.
The important part is testing rather than guessing.
Hit 10 baseline drives with face spray. Photograph the pattern. Make your setup changes, add the tee gate, and hit another 10 balls under the same conditions.
If the impact marks move toward the center and the slice becomes smaller, you have evidence that the change is helping. If they do not, return to the movement and swing-path checks instead of making the setup more extreme.
For complete practice sessions that combine driver contact with iron, chipping, and putting work, explore the Foy Golf Academy Practice Plans. Choose one of the 50-practice plans for your level or get all 150 practices in the complete bundle.